> ## Documentation Index
> Fetch the complete documentation index at: https://docs.openlayer.com/llms.txt
> Use this file to discover all available pages before exploring further.
# Overview
> Learn how you can use Development mode with Git, the Openlayer CLI, or the Openlayer REST API
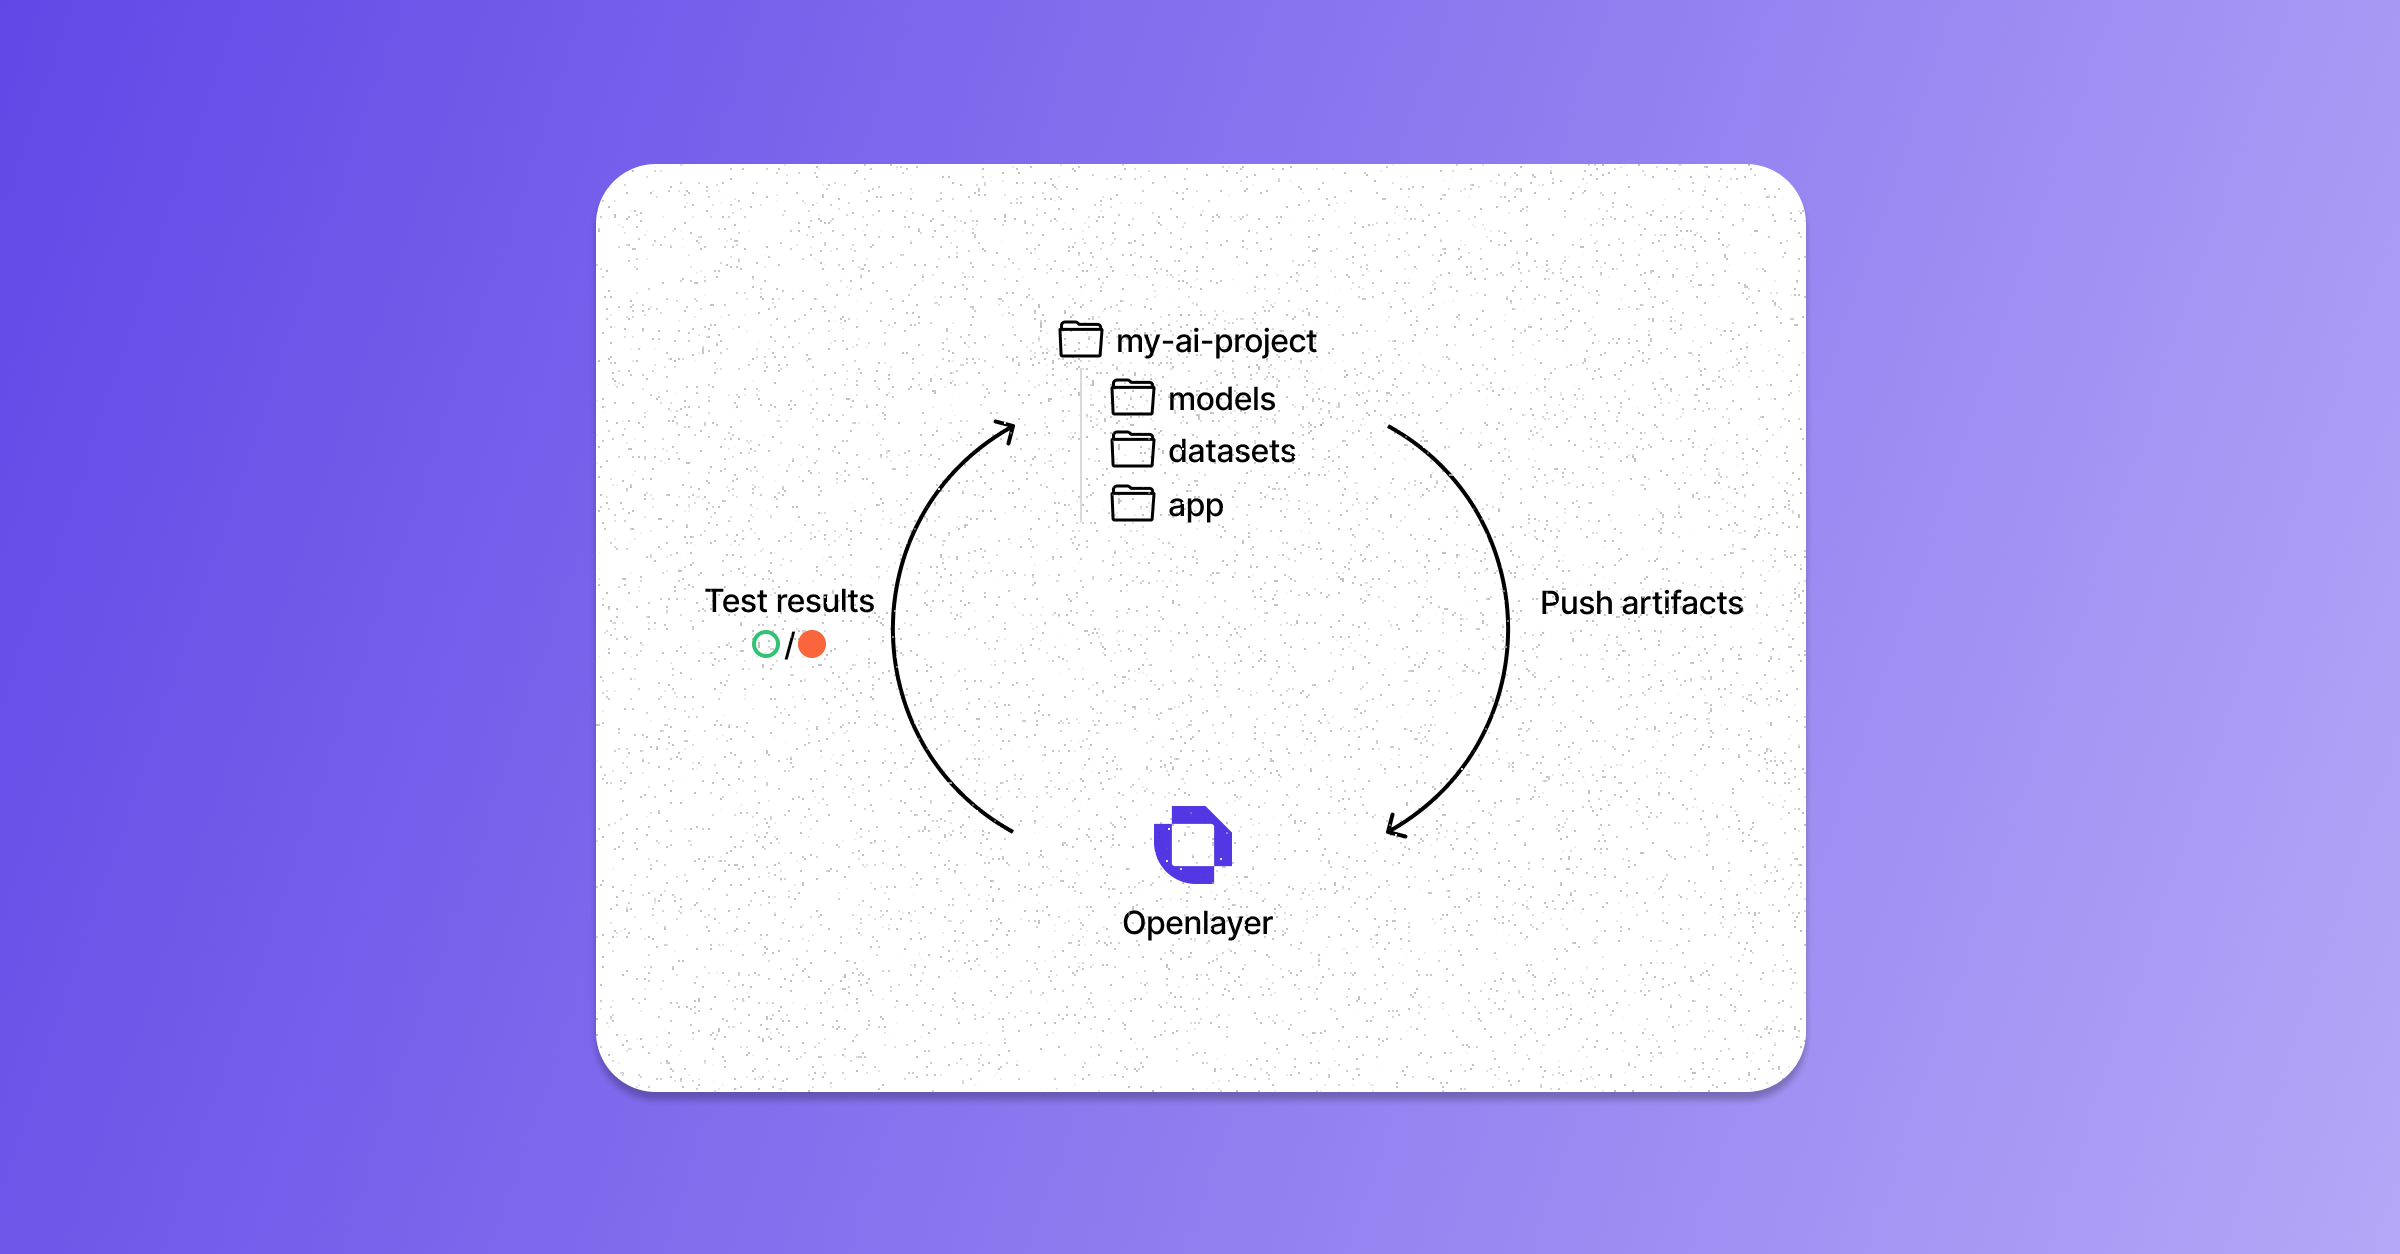 The AI/ML development process is inherently iterative.
While rapid iterations are crucial, things can slip out of hand, and the next thing you know,
you are repeatedly introducing and fixing the same issues.
You can use Openlayer's **development mode** to avoid running in circles.
With Openlayer, you can create tests for your AI system. Then, after each update,
your artifacts are tested, ensuring continuous improvement and avoiding regressions.
This guide gives an overview of the development mode setup.
## Connecting to the Openlayer platform
To make Openlayer part of your pipeline, you must set up a way
to push your artifacts to the Openlayer platform after each development cycle.
You can do this in three different ways:
* [Git](#git)
* [Openlayer CLI](#openlayer-cli)
* [Openlayer REST API](#openlayer-rest-api)
Regardless of the path, you'll need to prepare some files that Openlayer
uses to understand your system and evaluate your tests. Namely, an `openlayer.json`
and configurations related to how your model runs. We'll cover both in detail in
separate guides ([openlayer.json](/development/openlayer-json)
and [Configure output generations](/development/configuring-output-generation), respectively).
For now, let's take a high-level look at each path available.
### Git
The most common way to set up pushes to Openlayer is via Git repositories.
In this case, Openlayer works as a step in your CI/CD pipeline. Every commit you push
to a Git repo connected to your project also gets pushed to the Openlayer platform and
triggers the evaluation of your tests.
Setting up a Git integration begins by connecting a Git repo to an Openlayer project.
To see how to do this, refer to the [Project creation guide](/workspace-and-projects/creating-and-loading-projects). You can also refer to the
[Template gallery](https://github.com/openlayer-ai/examples) for more examples.
We support [GitHub](https://github.com/) as the Git provider.
If you use another
provider, you can use Openlayer via the Openlayer CLI
or the REST API.
[Reach out](mailto:support@openlayer.com) if you'd like native support to your Git provider or if you need help setting
up via the CLI/REST API.
### Openlayer CLI
The Openlayer CLI allows you to push artifacts to your Openlayer project directly from the Command Line Interface (CLI).
You can use this path regardless of whether your project is connected to a Git repository or not.
You can use the Openlayer CLI to create custom CI/CD workflows and integrate into your existing pipelines.
Refer to the [Push and poll using the Openlayer CLI guide](/guides/cli-push) and
to the [Openlayer CLI documentation](/api-reference/cli/overview) for details.
### Openlayer REST API
The Openlayer REST API is used to push your artifacts to Openlayer by making an
HTTPS `POST` request to the relevant endpoints.
Refer to the [Push and poll using the Openlayer REST API guide](/guides/rest-push) and
to the [REST API reference](/api-reference/rest/overview) for details.
## Commit logs
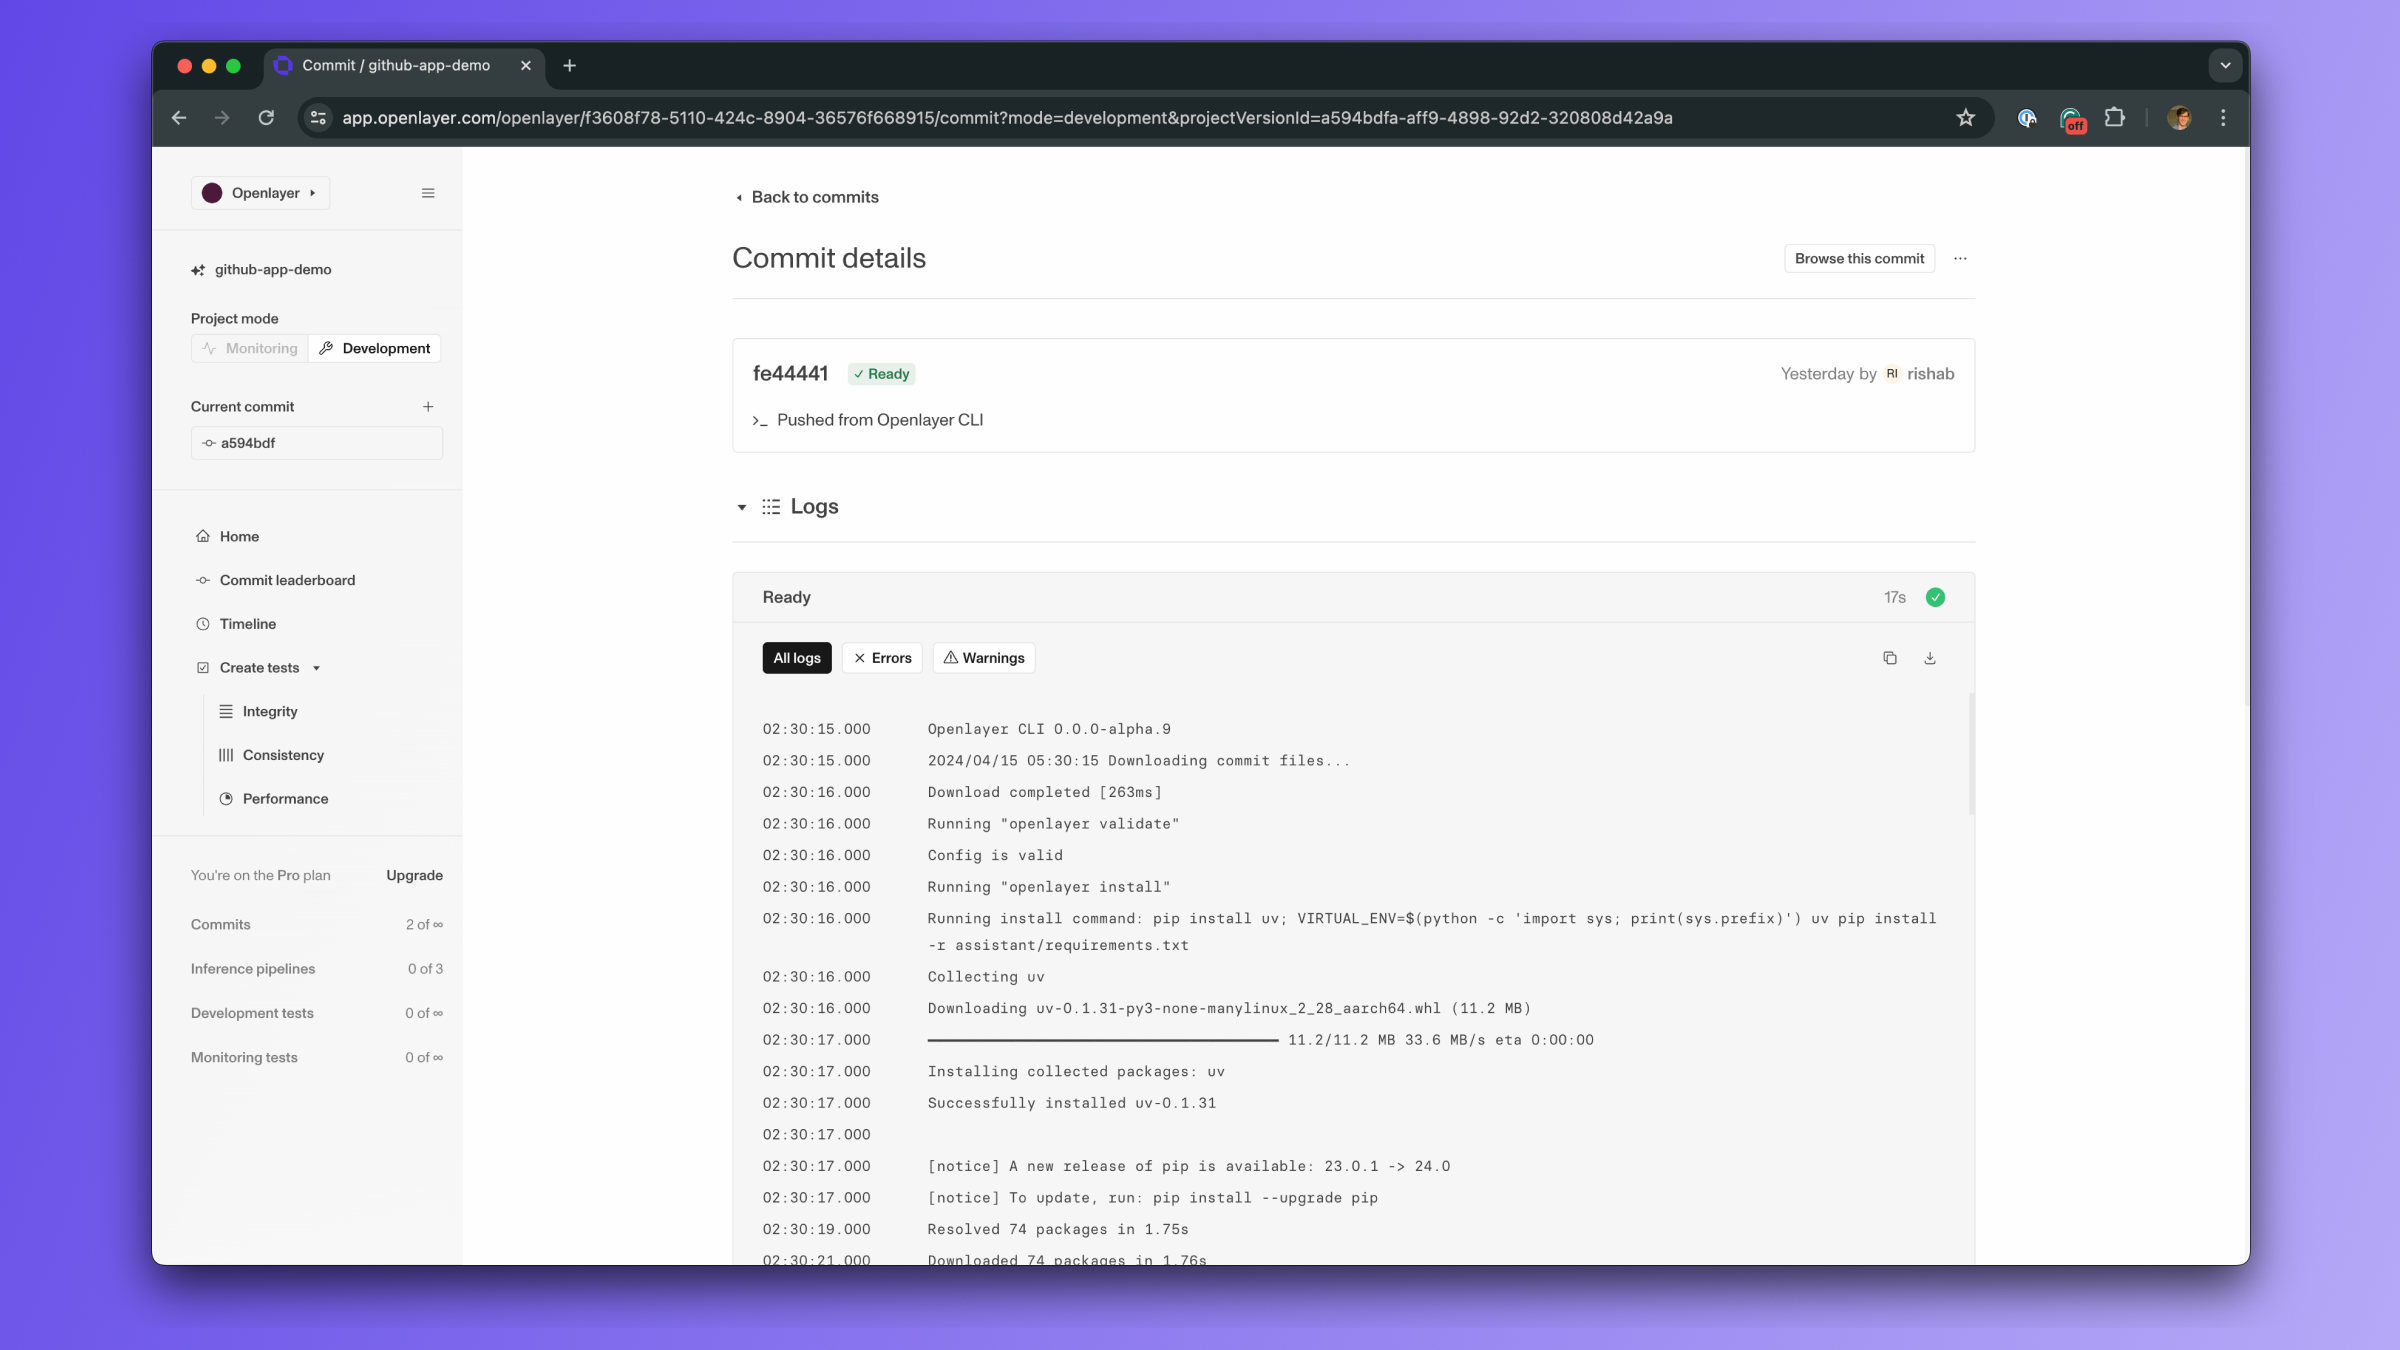
Once you push a commit to your Openlayer project, the platform goes through a series of
processing steps, the final one being the evaluation of your tests.
Depending on the information provided when you push,
Openlayer might set up an environment to run your model, iterate through your datasets
to get the model predictions, and generate insights to evaluate your tests.
The commit logs show a detailed overview of all these steps.
You can use them to understand what's going on and if there are any issues with the artifacts
you pushed.
The AI/ML development process is inherently iterative.
While rapid iterations are crucial, things can slip out of hand, and the next thing you know,
you are repeatedly introducing and fixing the same issues.
You can use Openlayer's **development mode** to avoid running in circles.
With Openlayer, you can create tests for your AI system. Then, after each update,
your artifacts are tested, ensuring continuous improvement and avoiding regressions.
This guide gives an overview of the development mode setup.
## Connecting to the Openlayer platform
To make Openlayer part of your pipeline, you must set up a way
to push your artifacts to the Openlayer platform after each development cycle.
You can do this in three different ways:
* [Git](#git)
* [Openlayer CLI](#openlayer-cli)
* [Openlayer REST API](#openlayer-rest-api)
Regardless of the path, you'll need to prepare some files that Openlayer
uses to understand your system and evaluate your tests. Namely, an `openlayer.json`
and configurations related to how your model runs. We'll cover both in detail in
separate guides ([openlayer.json](/development/openlayer-json)
and [Configure output generations](/development/configuring-output-generation), respectively).
For now, let's take a high-level look at each path available.
### Git
The most common way to set up pushes to Openlayer is via Git repositories.
In this case, Openlayer works as a step in your CI/CD pipeline. Every commit you push
to a Git repo connected to your project also gets pushed to the Openlayer platform and
triggers the evaluation of your tests.
Setting up a Git integration begins by connecting a Git repo to an Openlayer project.
To see how to do this, refer to the [Project creation guide](/workspace-and-projects/creating-and-loading-projects). You can also refer to the
[Template gallery](https://github.com/openlayer-ai/examples) for more examples.
We support [GitHub](https://github.com/) as the Git provider.
If you use another
provider, you can use Openlayer via the Openlayer CLI
or the REST API.
[Reach out](mailto:support@openlayer.com) if you'd like native support to your Git provider or if you need help setting
up via the CLI/REST API.
### Openlayer CLI
The Openlayer CLI allows you to push artifacts to your Openlayer project directly from the Command Line Interface (CLI).
You can use this path regardless of whether your project is connected to a Git repository or not.
You can use the Openlayer CLI to create custom CI/CD workflows and integrate into your existing pipelines.
Refer to the [Push and poll using the Openlayer CLI guide](/guides/cli-push) and
to the [Openlayer CLI documentation](/api-reference/cli/overview) for details.
### Openlayer REST API
The Openlayer REST API is used to push your artifacts to Openlayer by making an
HTTPS `POST` request to the relevant endpoints.
Refer to the [Push and poll using the Openlayer REST API guide](/guides/rest-push) and
to the [REST API reference](/api-reference/rest/overview) for details.
## Commit logs
Once you push a commit to your Openlayer project, the platform goes through a series of
processing steps, the final one being the evaluation of your tests.
Depending on the information provided when you push,
Openlayer might set up an environment to run your model, iterate through your datasets
to get the model predictions, and generate insights to evaluate your tests.
The commit logs show a detailed overview of all these steps.
You can use them to understand what's going on and if there are any issues with the artifacts
you pushed.
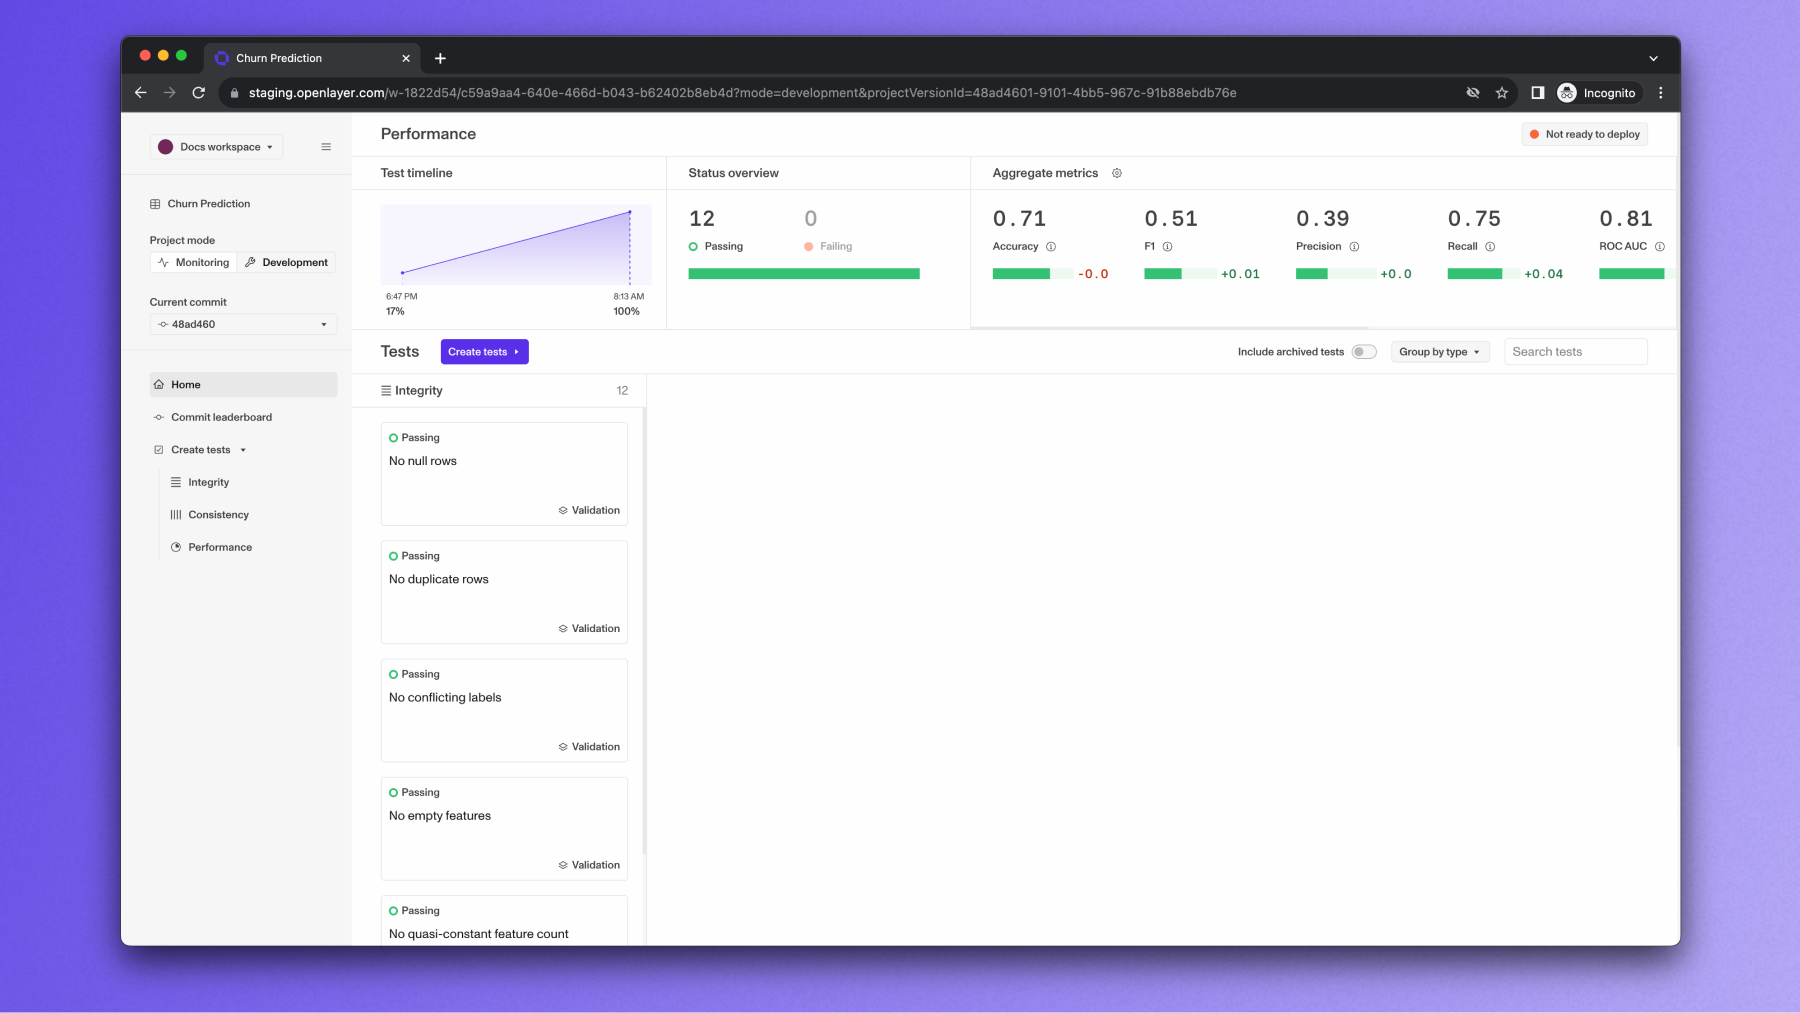
 Once the commit finishes processing, you will see all your test results. These results
are available on the platform, on Git (if you connect to [Git](#git)), and also
retrievable via the Openlayer REST API.
Once the commit finishes processing, you will see all your test results. These results
are available on the platform, on Git (if you connect to [Git](#git)), and also
retrievable via the Openlayer REST API.
 {" "}
## Next steps
Now that you understand what Openlayer's development mode is, and have a sense about the
different paths you can follow, it's time to start preparing the files required by Openlayer
for a successful setup.
If you prefer, you can **pick a template from our [Template
gallery](https://github.com/openlayer-ai/examples)** that feels closest to
your use case and make edits to its files. We have templates covering
different AI/ML tasks, programming languages, and frameworks.
{" "}
## Next steps
Now that you understand what Openlayer's development mode is, and have a sense about the
different paths you can follow, it's time to start preparing the files required by Openlayer
for a successful setup.
If you prefer, you can **pick a template from our [Template
gallery](https://github.com/openlayer-ai/examples)** that feels closest to
your use case and make edits to its files. We have templates covering
different AI/ML tasks, programming languages, and frameworks.