> ## Documentation Index
> Fetch the complete documentation index at: https://docs.openlayer.com/llms.txt
> Use this file to discover all available pages before exploring further.
# GitHub
> Learn how to connect your GitHub repository to your Openlayer project
 If you use [GitHub](https://github.com/) to version control your AI system, you can
connect its repository to your Openlayer project. By doing so, every push or pull request to a pre-defined branch triggers
the evaluation of your Openlayer tests.
This is the most common way to set up Openlayer's [development mode](/development/overview).
In this case, Openlayer works as a step in your CI/CD pipeline.
## Connecting GitHub account
The first step is connecting your GitHub account to Openlayer. To do so, navigate to
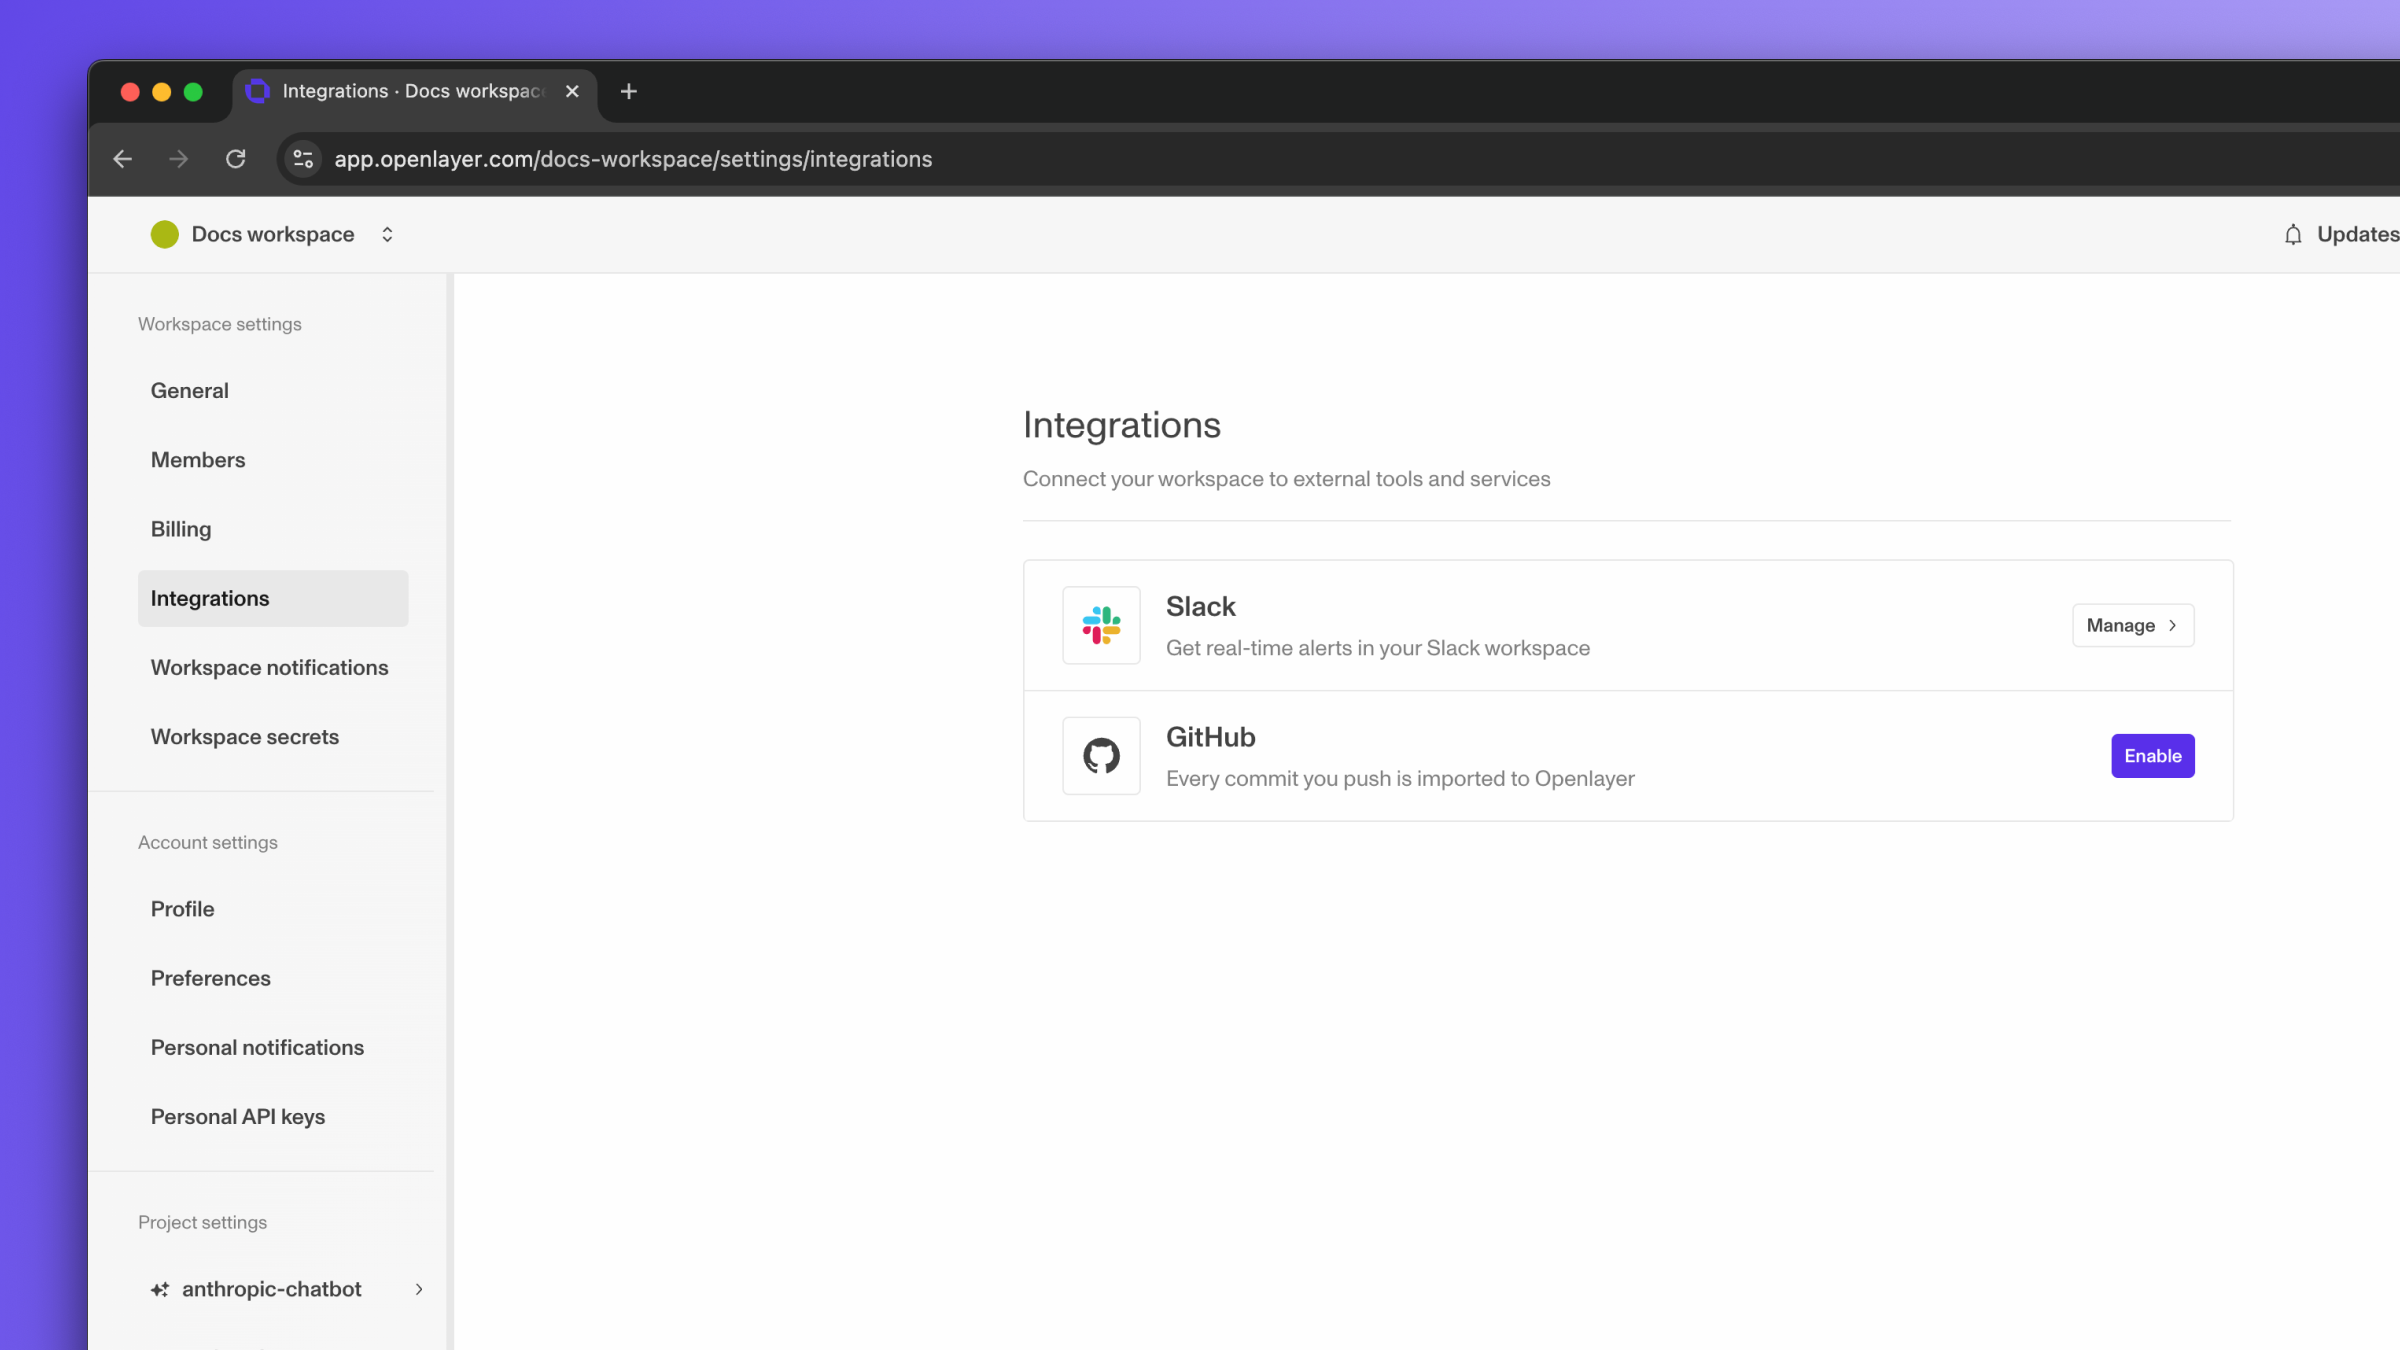
"Settings" > "Integrations." Click "Enable" next to the GitHub integration section.
If you use [GitHub](https://github.com/) to version control your AI system, you can
connect its repository to your Openlayer project. By doing so, every push or pull request to a pre-defined branch triggers
the evaluation of your Openlayer tests.
This is the most common way to set up Openlayer's [development mode](/development/overview).
In this case, Openlayer works as a step in your CI/CD pipeline.
## Connecting GitHub account
The first step is connecting your GitHub account to Openlayer. To do so, navigate to
"Settings" > "Integrations." Click "Enable" next to the GitHub integration section.
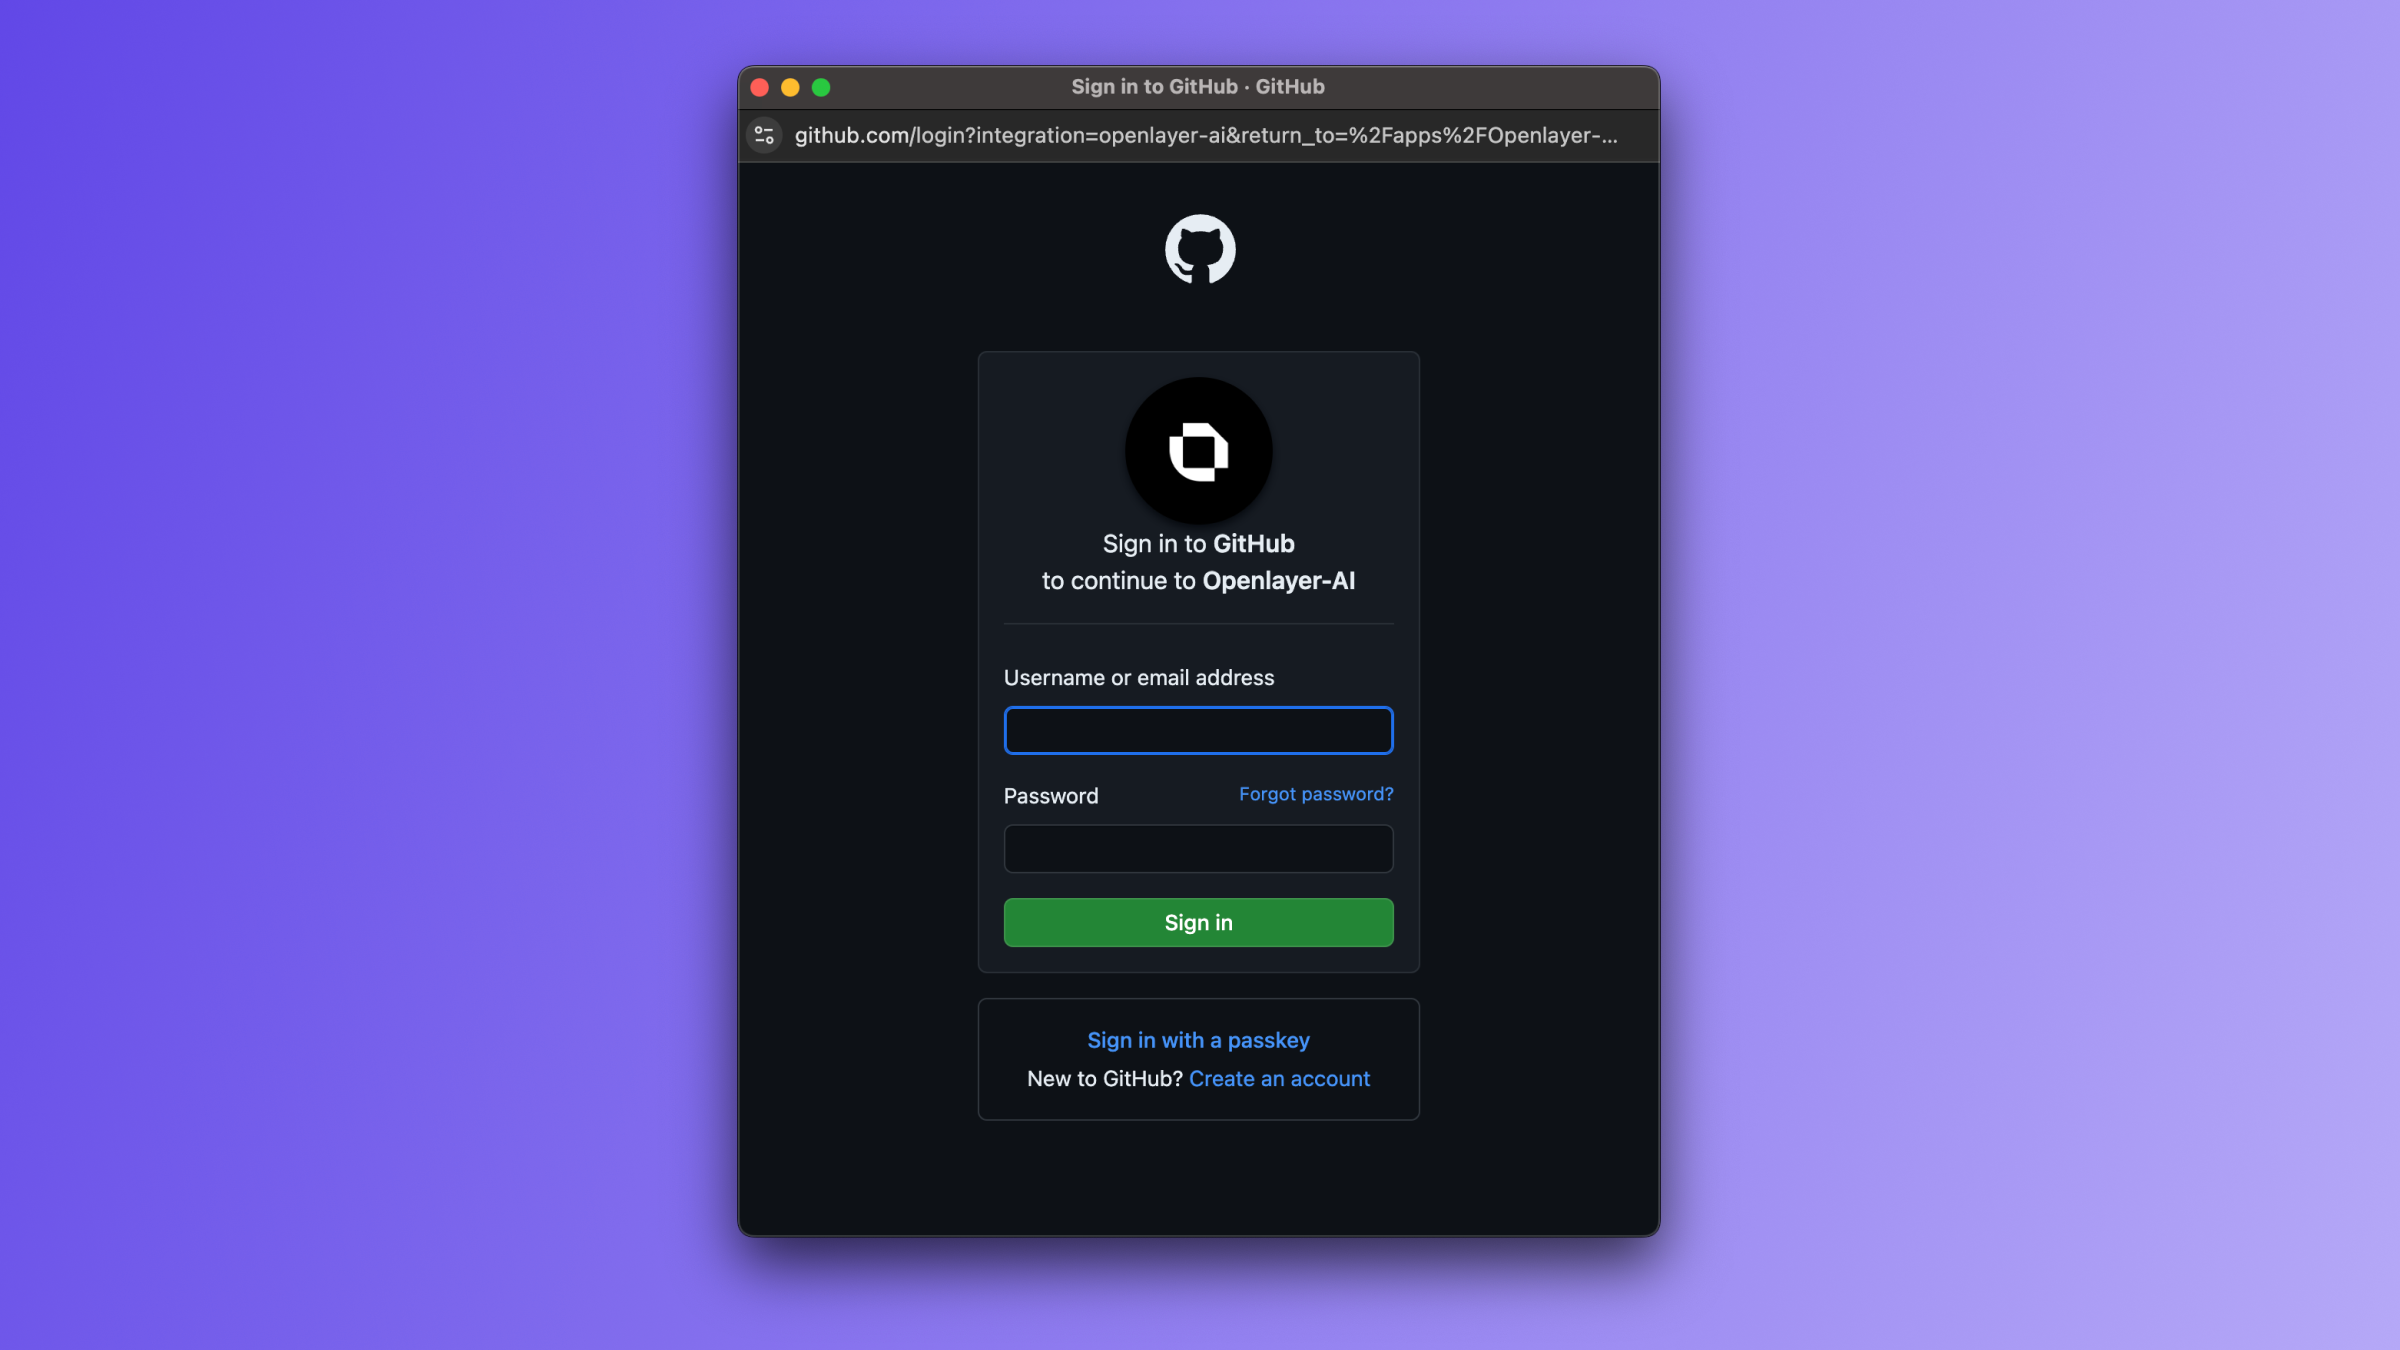
 After clicking "Enable," a window should pop up asking you to log in. Follow the instructions
on the screen to log into your GitHub account and select the organization where the Openlayer
GitHub app should be installed.
After clicking "Enable," a window should pop up asking you to log in. Follow the instructions
on the screen to log into your GitHub account and select the organization where the Openlayer
GitHub app should be installed.
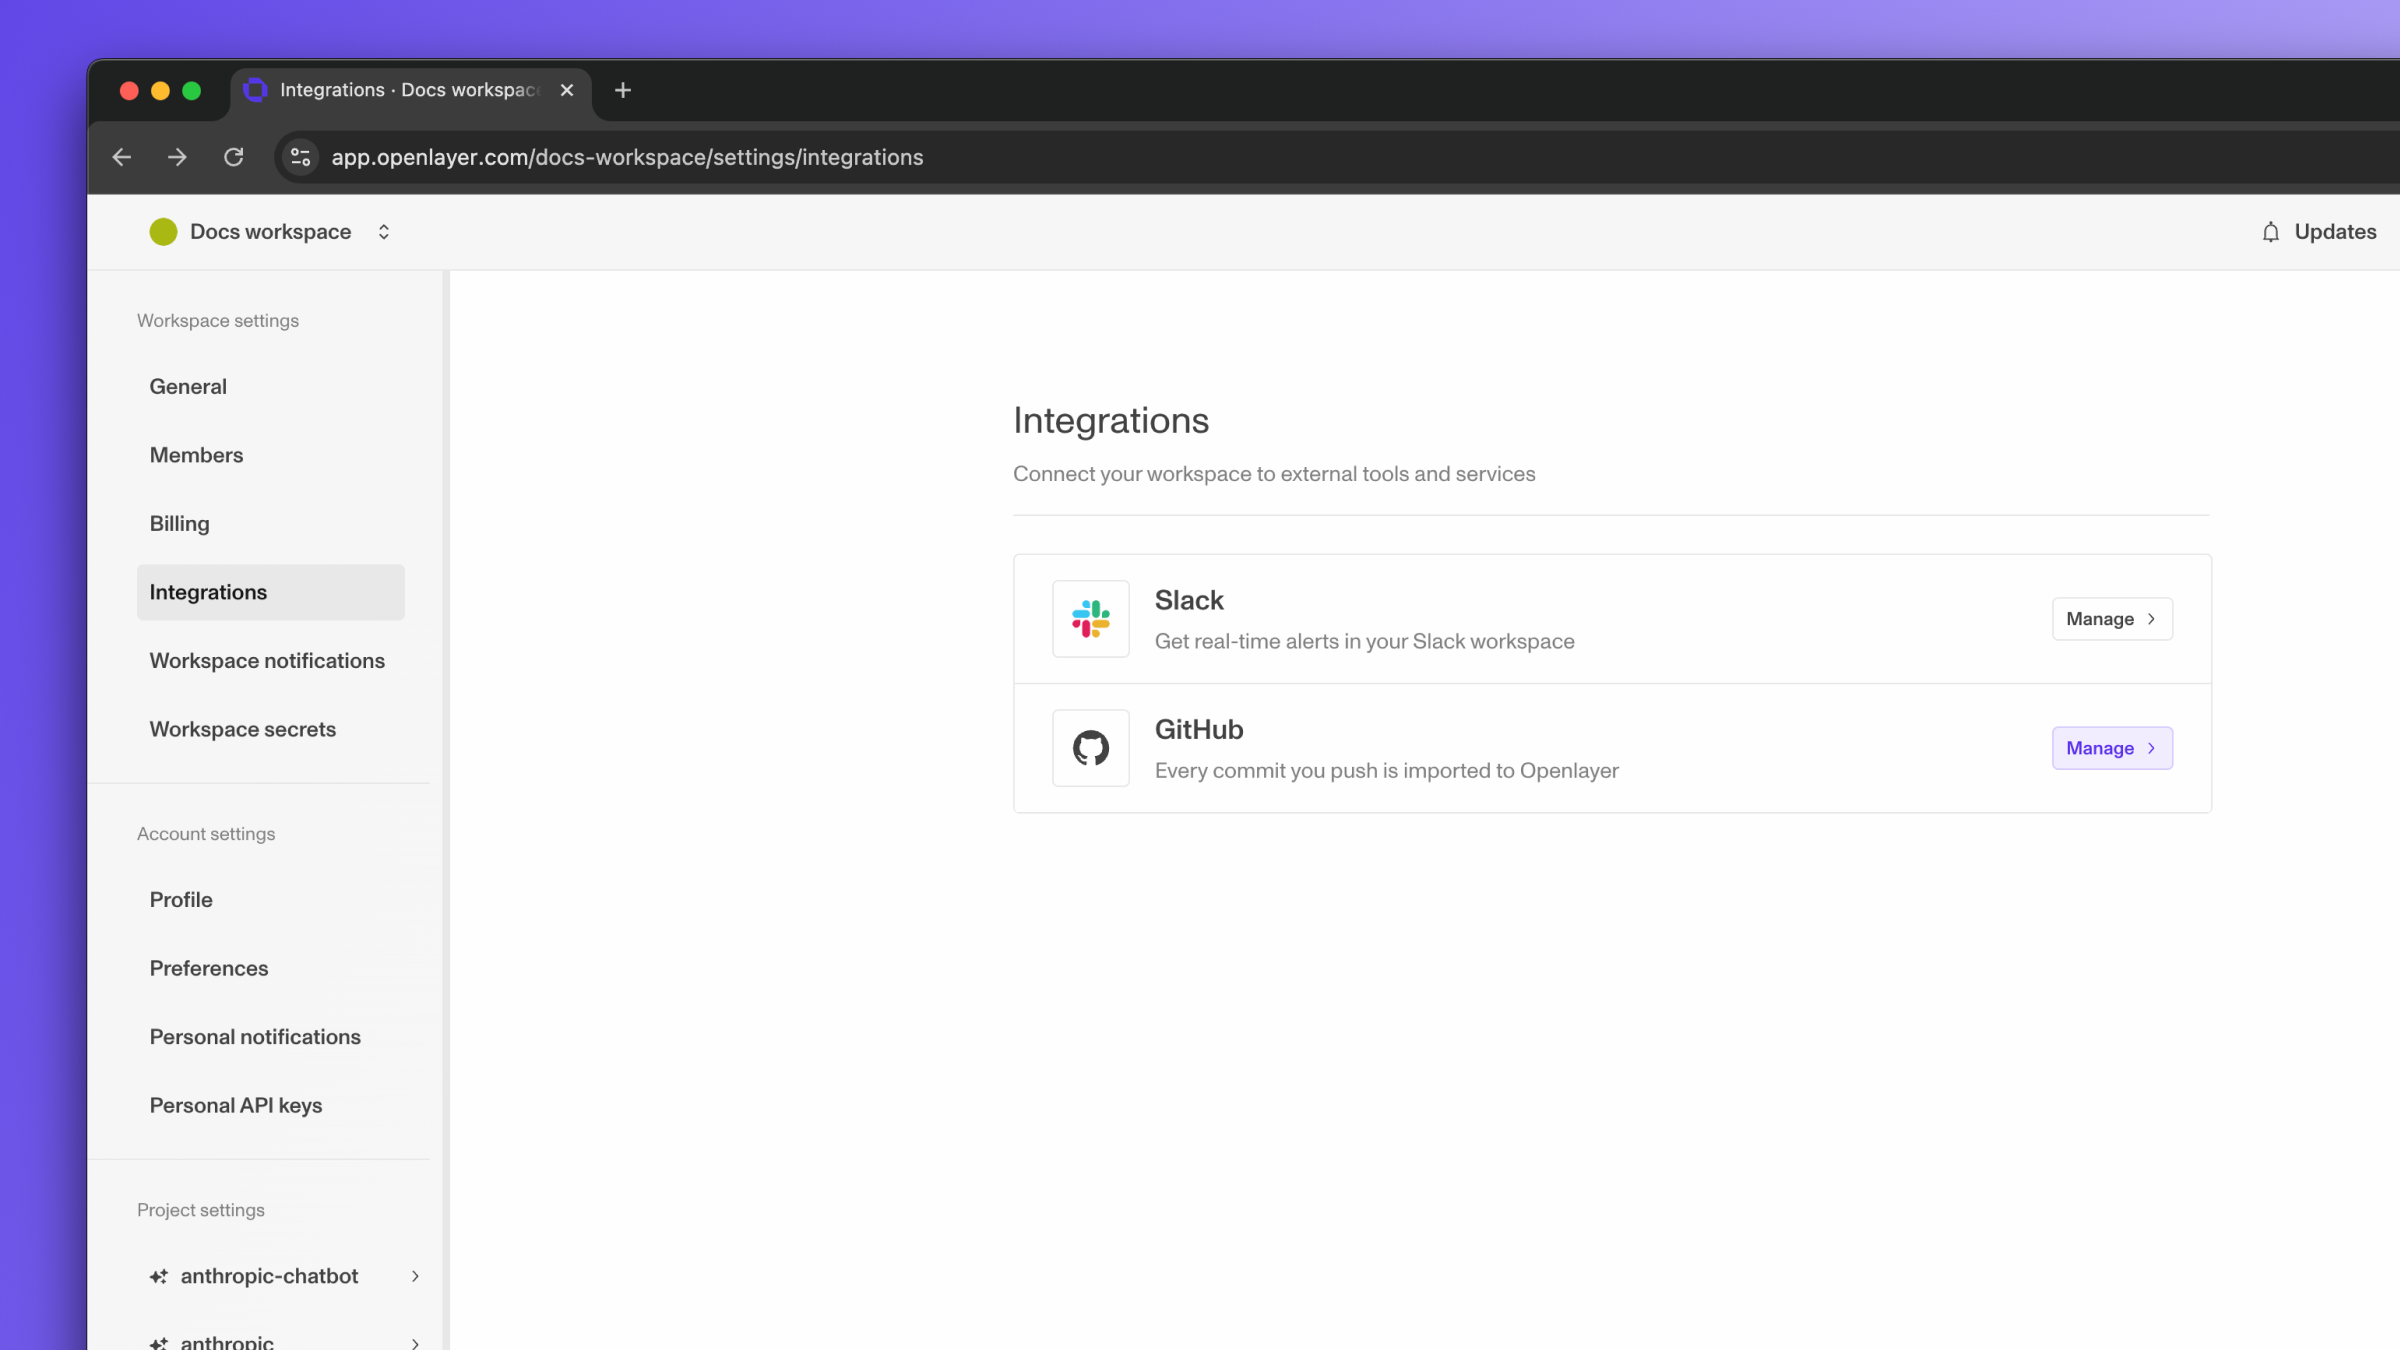
 Once a GitHub account is successfully connected to your GitHub account, you should see a
"Manage" button, instead of "Enable."
Once a GitHub account is successfully connected to your GitHub account, you should see a
"Manage" button, instead of "Enable."
 ## Linking a GitHub repo to a project
Now that your GitHub account is connected to your Openlayer workspace, you can link
a repo to an Openlayer project. You have two options:
If you [follow the instructions to create a new project](/workspace-and-projects/creating-and-loading-projects), you should see the option to
link a GitHub repo right away.
## Linking a GitHub repo to a project
Now that your GitHub account is connected to your Openlayer workspace, you can link
a repo to an Openlayer project. You have two options:
If you [follow the instructions to create a new project](/workspace-and-projects/creating-and-loading-projects), you should see the option to
link a GitHub repo right away.
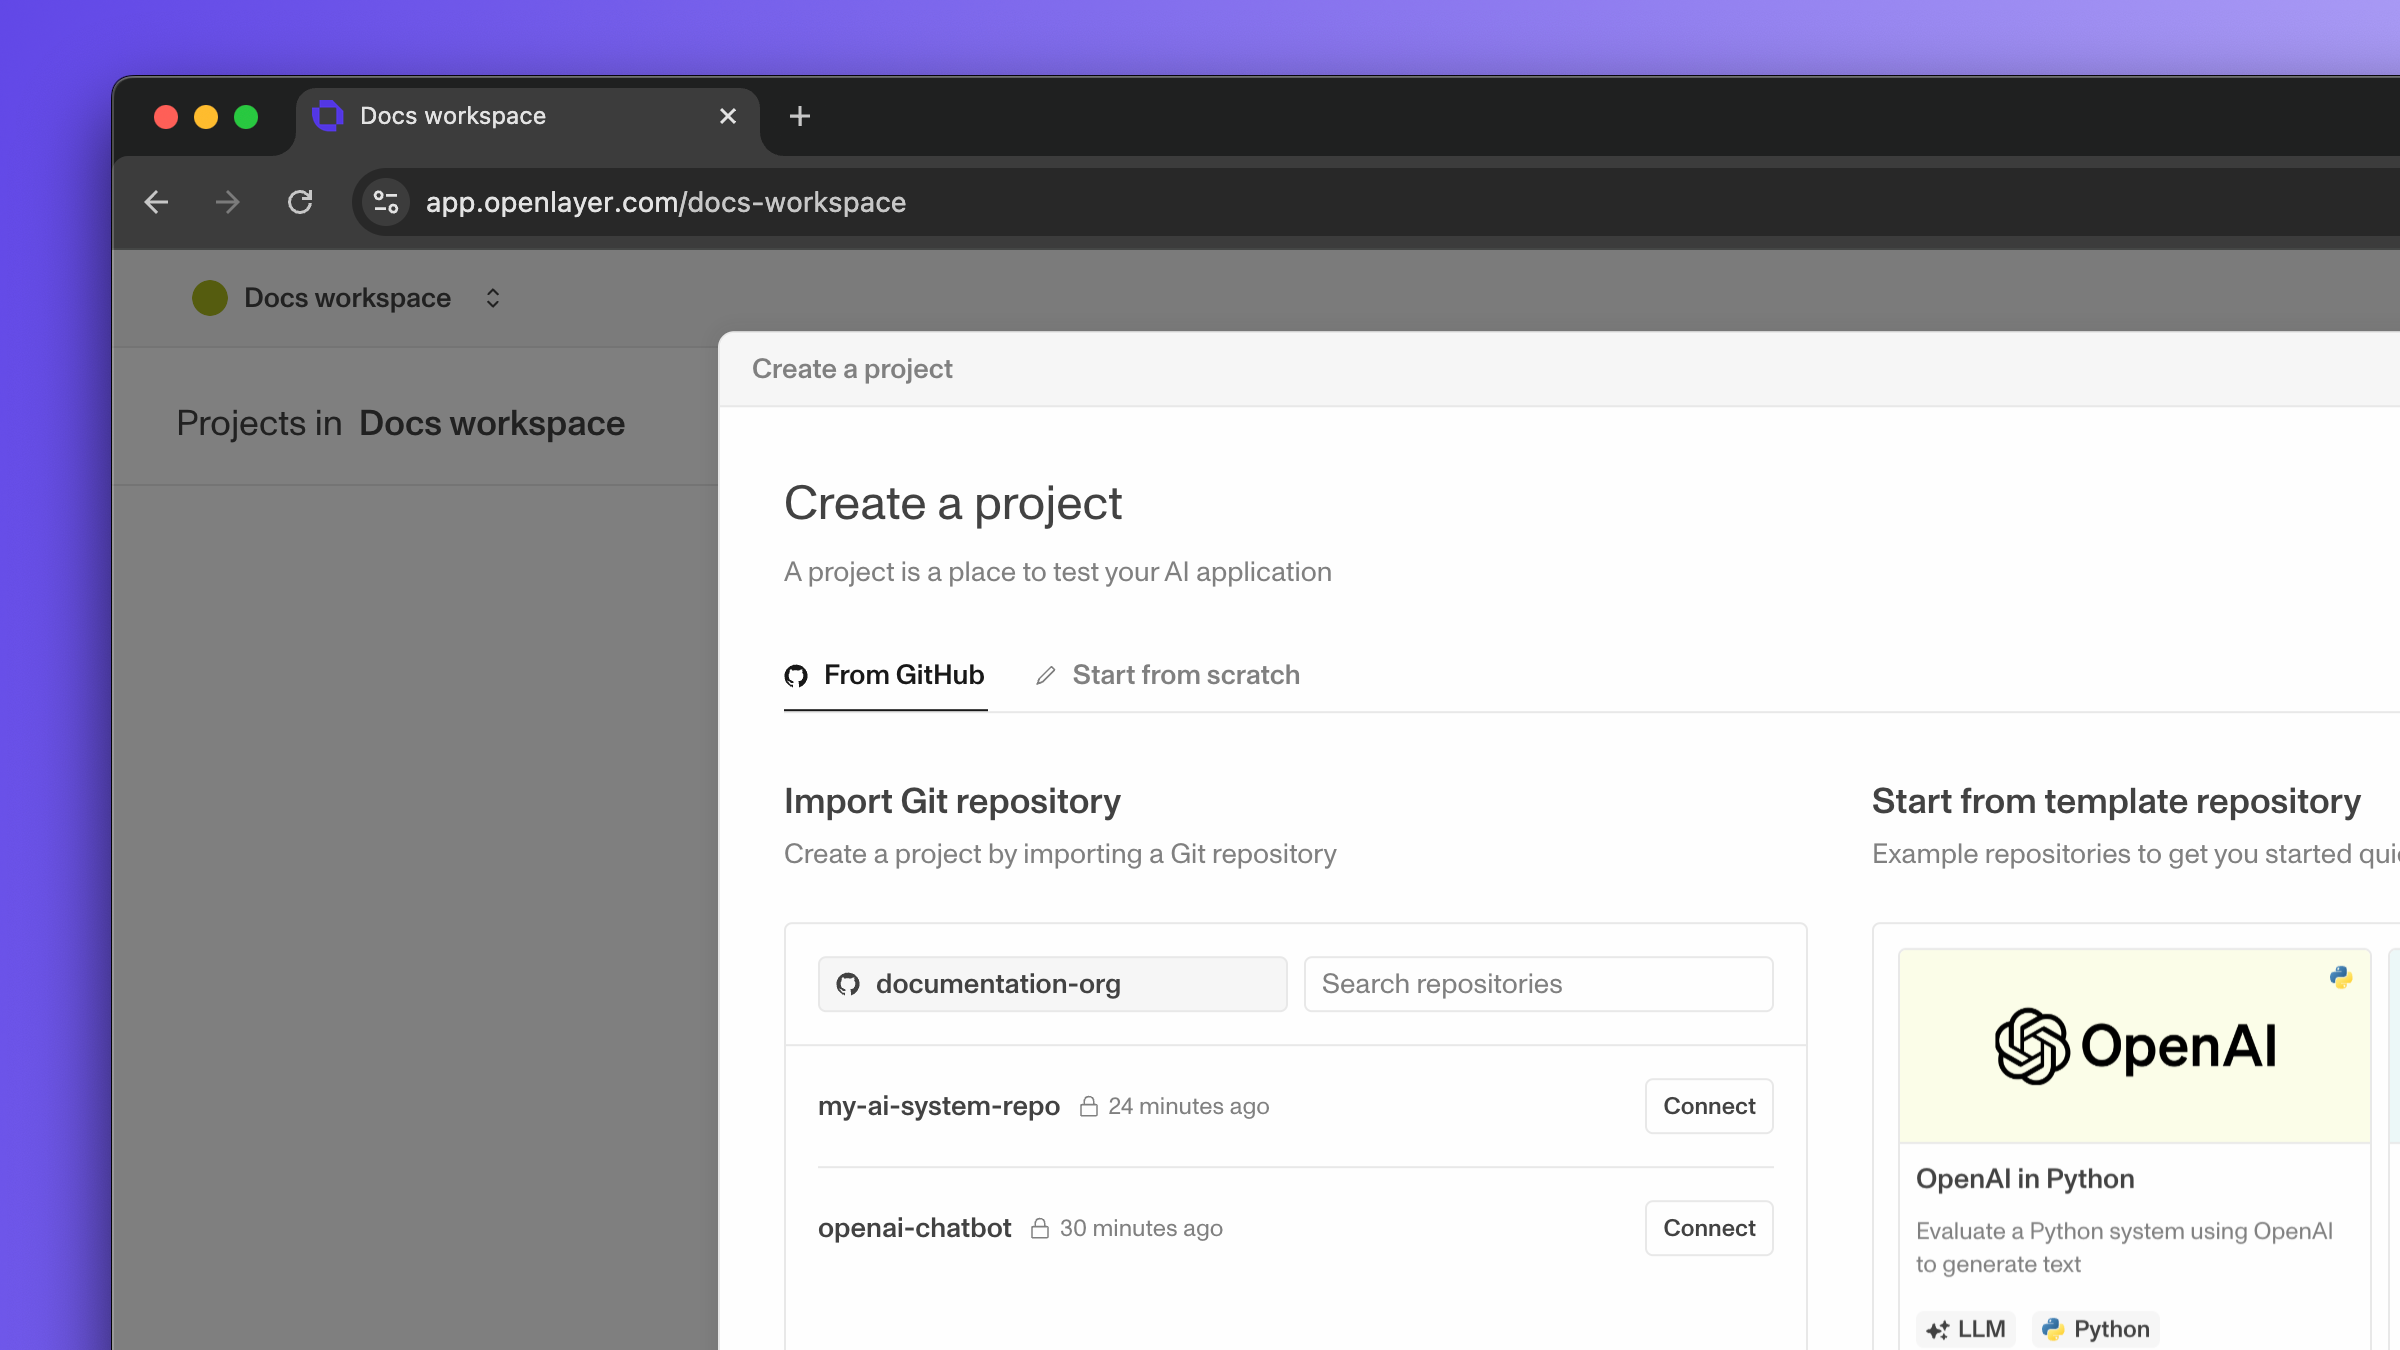 Click "Connect" next to the repo you want to link to the project.
Navigate to "Settings," and then scroll down on the left sidebar to the
project settings. Under the project you want to link a GitHub repo to, click on
"Git repository."
Click "Connect" next to the repo you want to link to the project.
Navigate to "Settings," and then scroll down on the left sidebar to the
project settings. Under the project you want to link a GitHub repo to, click on
"Git repository."
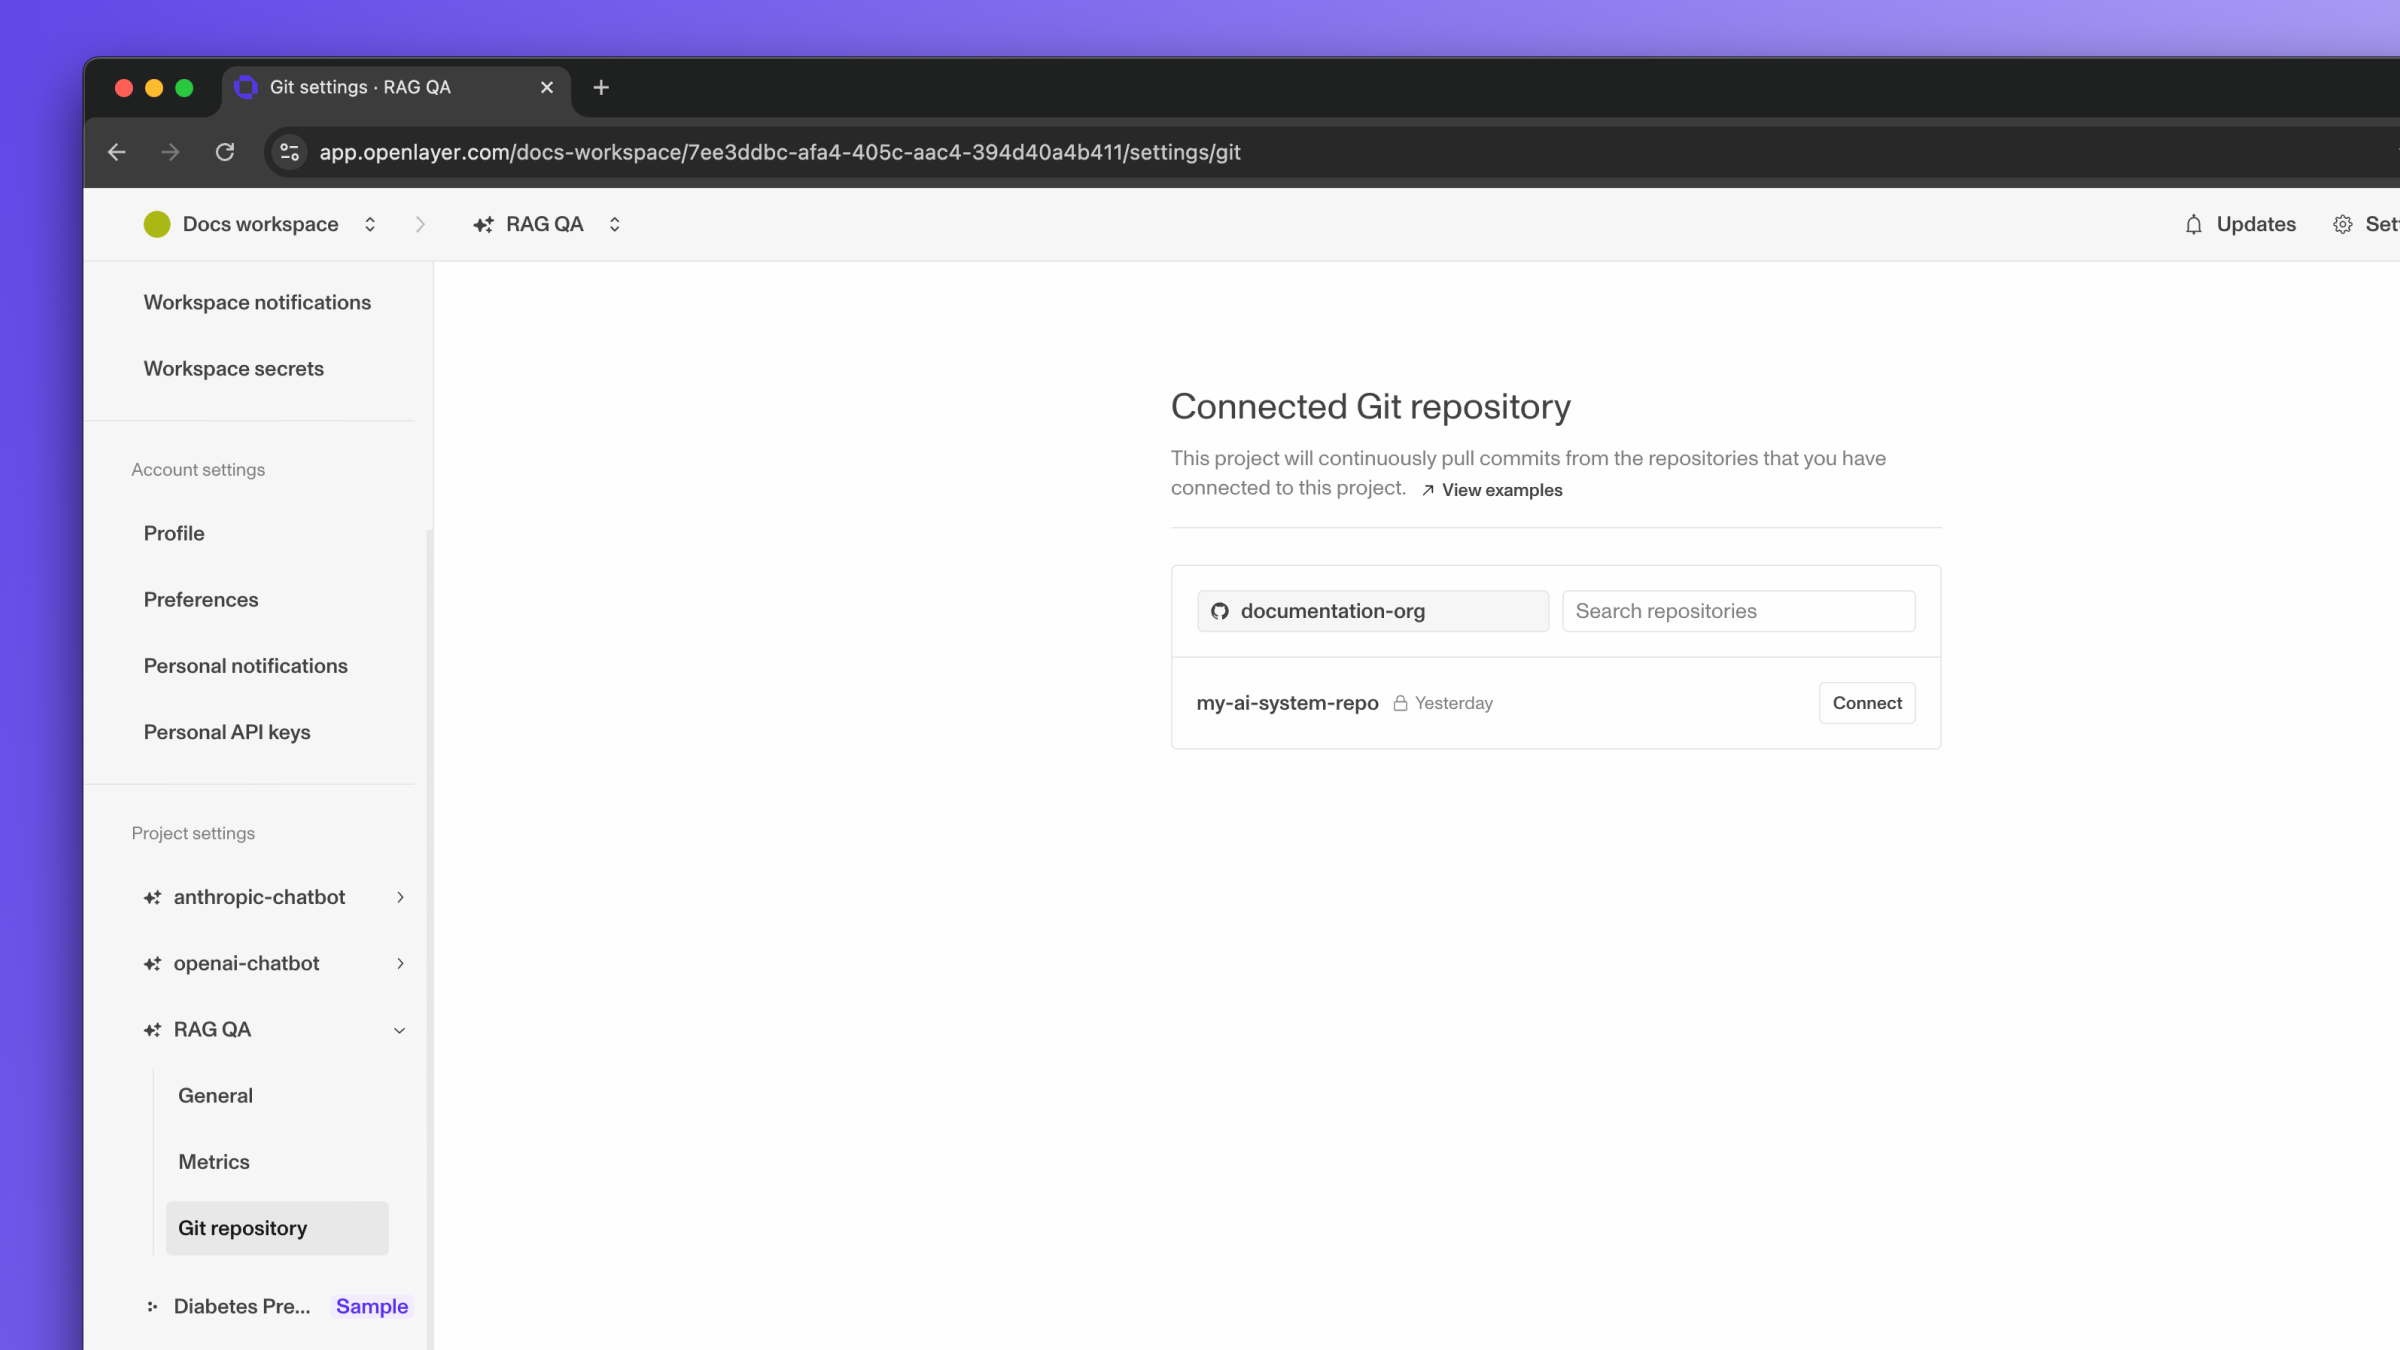 Click "Connect" next to the repo you want to link to the project.
In both cases, you will be asked for the:
* **Branch name**: the branch of the Git repo being connected. Pushes and pull requests
to this branch will trigger the evaluation of your tests.
* **Root directory**: the directory within the Git repo that will get pushed to Openlayer.
This should be the directory with Openlayer's configurations (such as the [openlayer.json](/development/openlayer-json)).
## Pushing changes
After linking your GitHub repo to your Openlayer project, all your pushes and pull requests
to the branch you configured in the previous step will trigger the evaluation of your tests.
In your GitHub repo, you should see the Openlayer app running.
Click "Connect" next to the repo you want to link to the project.
In both cases, you will be asked for the:
* **Branch name**: the branch of the Git repo being connected. Pushes and pull requests
to this branch will trigger the evaluation of your tests.
* **Root directory**: the directory within the Git repo that will get pushed to Openlayer.
This should be the directory with Openlayer's configurations (such as the [openlayer.json](/development/openlayer-json)).
## Pushing changes
After linking your GitHub repo to your Openlayer project, all your pushes and pull requests
to the branch you configured in the previous step will trigger the evaluation of your tests.
In your GitHub repo, you should see the Openlayer app running.
 If you navigate to your Openlayer project in [app.openlayer.com](https://app.openlayer.com),
you should see the connected repo on the left sidebar. Furthermore, if you navigate to the
"Commit leaderboard" page of your project, you should see all the commits to
Openlayer linked to the original GitHub commits.
If you navigate to your Openlayer project in [app.openlayer.com](https://app.openlayer.com),
you should see the connected repo on the left sidebar. Furthermore, if you navigate to the
"Commit leaderboard" page of your project, you should see all the commits to
Openlayer linked to the original GitHub commits.
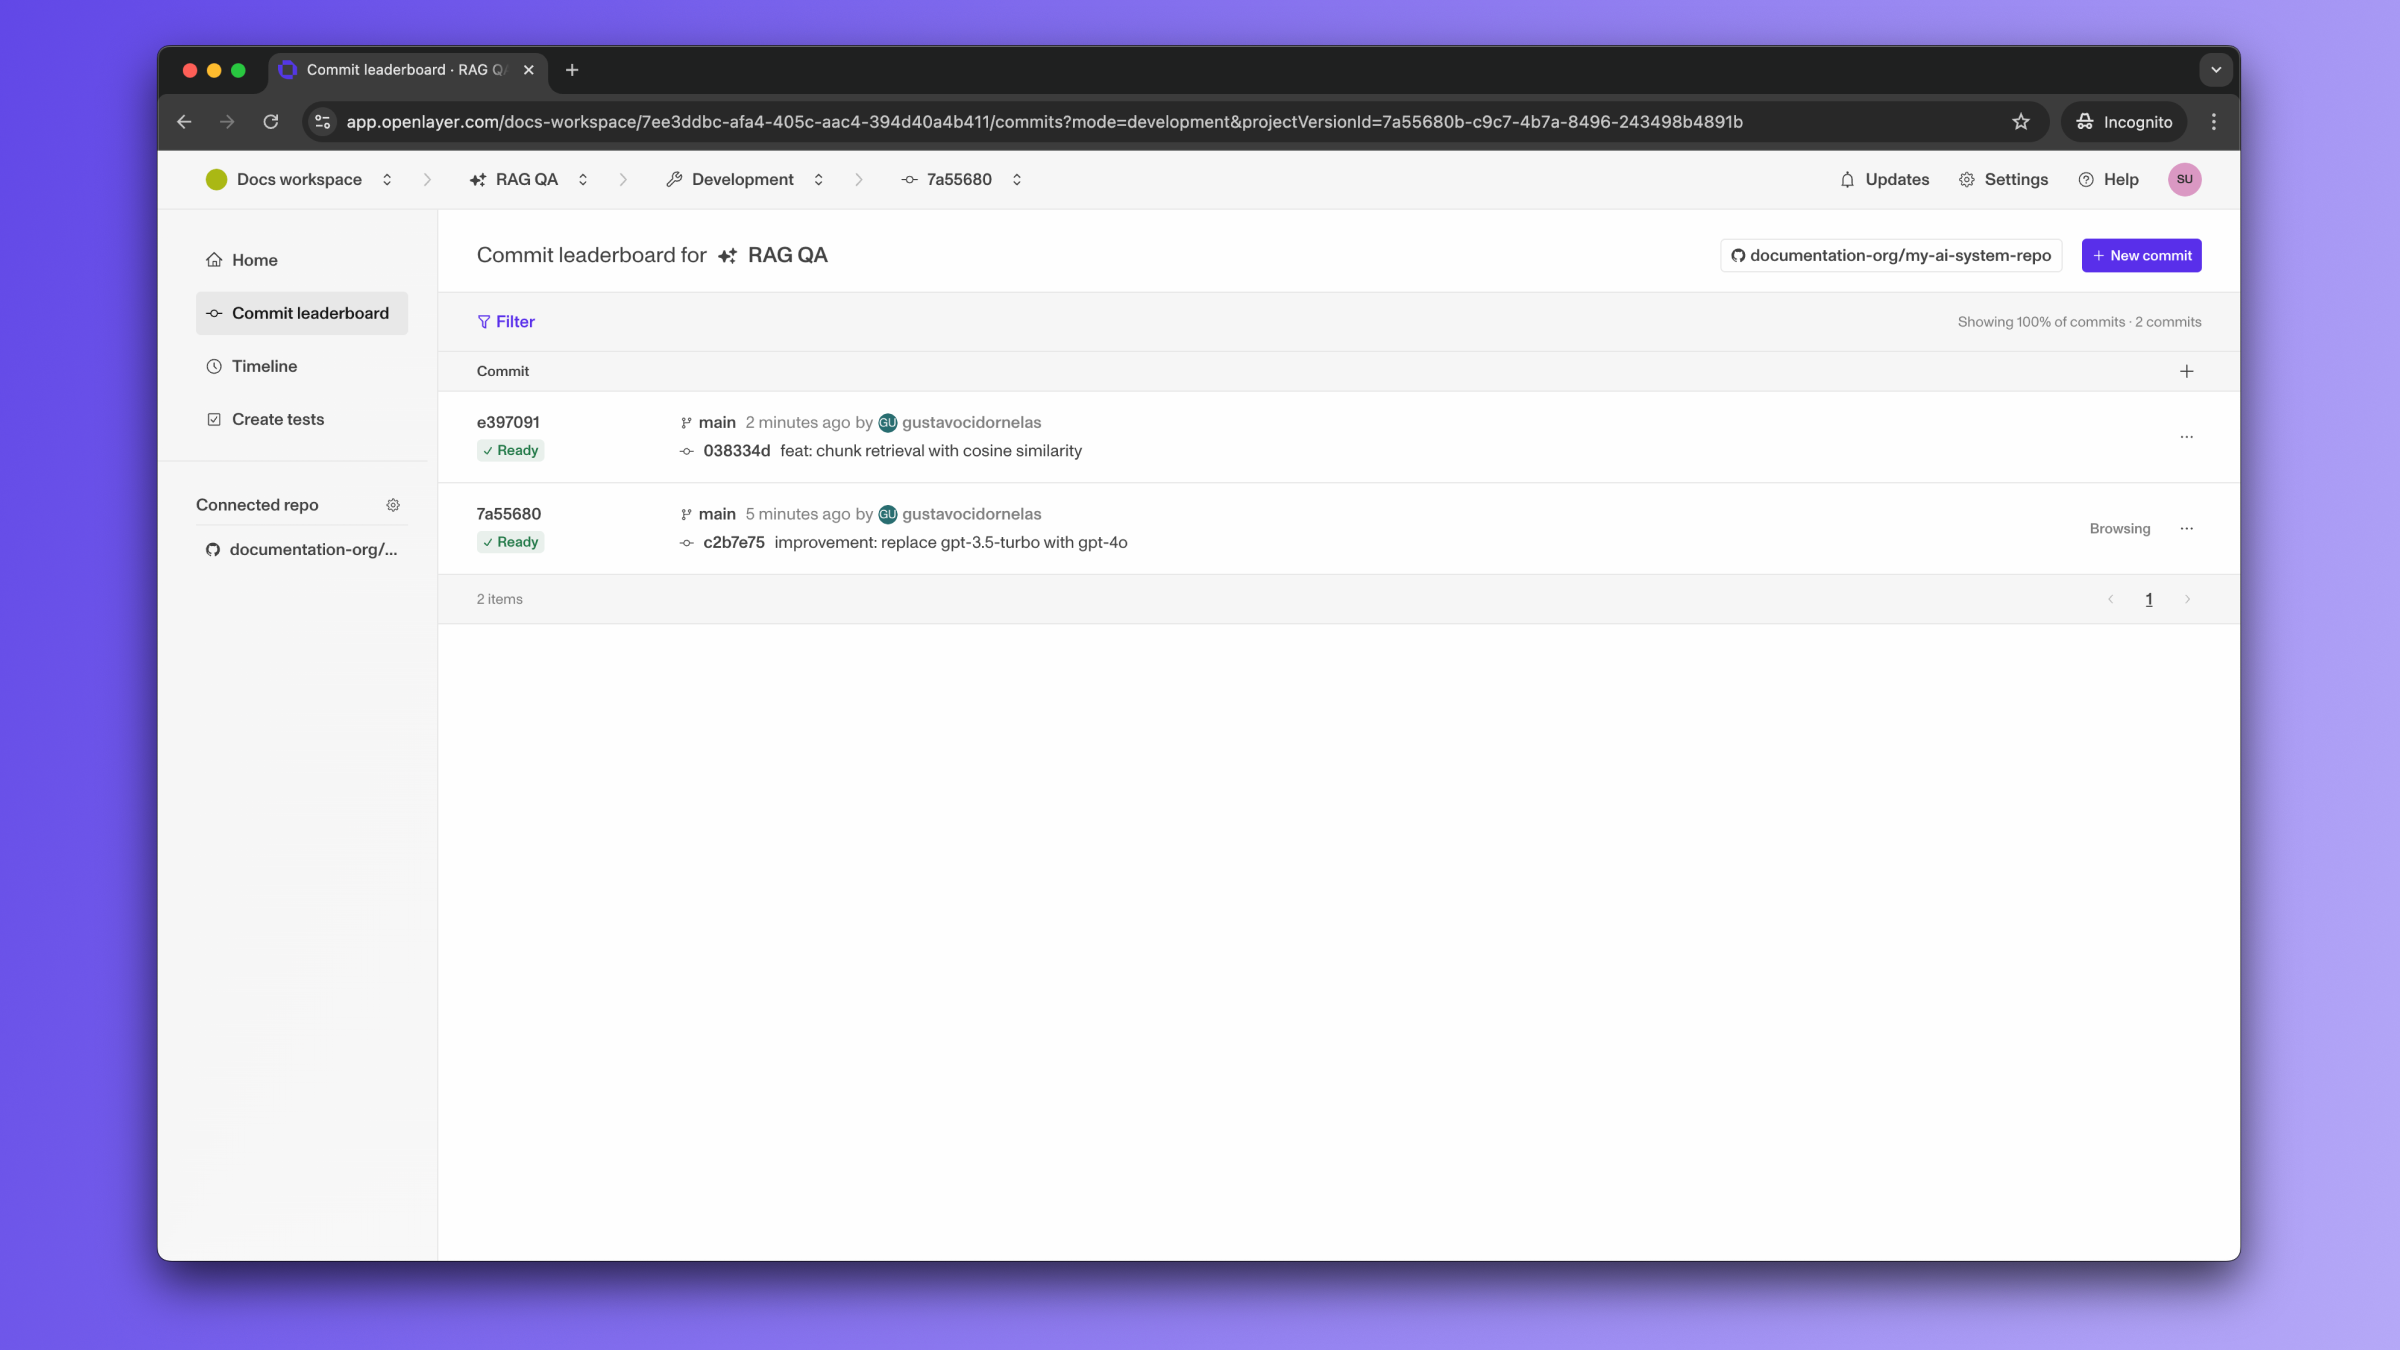 If you click the three dots on the right, you can view the commit logs. You can see the
logs for all the steps involved and debug any issues associated with test evaluation.
If you click the three dots on the right, you can view the commit logs. You can see the
logs for all the steps involved and debug any issues associated with test evaluation.
