> ## Documentation Index
> Fetch the complete documentation index at: https://docs.openlayer.com/llms.txt
> Use this file to discover all available pages before exploring further.

# Openlayer MCP

> Learn how to set up the Openlayer MCP server.

<img style={{ borderRadius: "0.5rem" }} width="700" src="https://mintcdn.com/openlayer-44/jN8MTVdaEnRVD4sY/images/documentation/mcp_hero.png?fit=max&auto=format&n=jN8MTVdaEnRVD4sY&q=85&s=482b8ca23f477afe8b2385470ac1911c" alt="MCP hero" data-path="images/documentation/mcp_hero.png" />

[MCP](https://github.com/modelcontextprotocol) (Model Context Protocol) is an open-source standard for how applications provide
context and tools to LLMs.

The **Openlayer MCP server** exposes many of Openlayer's features to LLMs. If you
use an IDE or desktop app with MCP support — like [Cursor](https://docs.cursor.com/context/model-context-protocol),
[VSCode](https://code.visualstudio.com/docs/copilot/chat/mcp-servers), [Claude Desktop](https://modelcontextprotocol.io/quickstart/user),
and others — you can now directly interact with your Openlayer workspace **without
leaving your editor**.
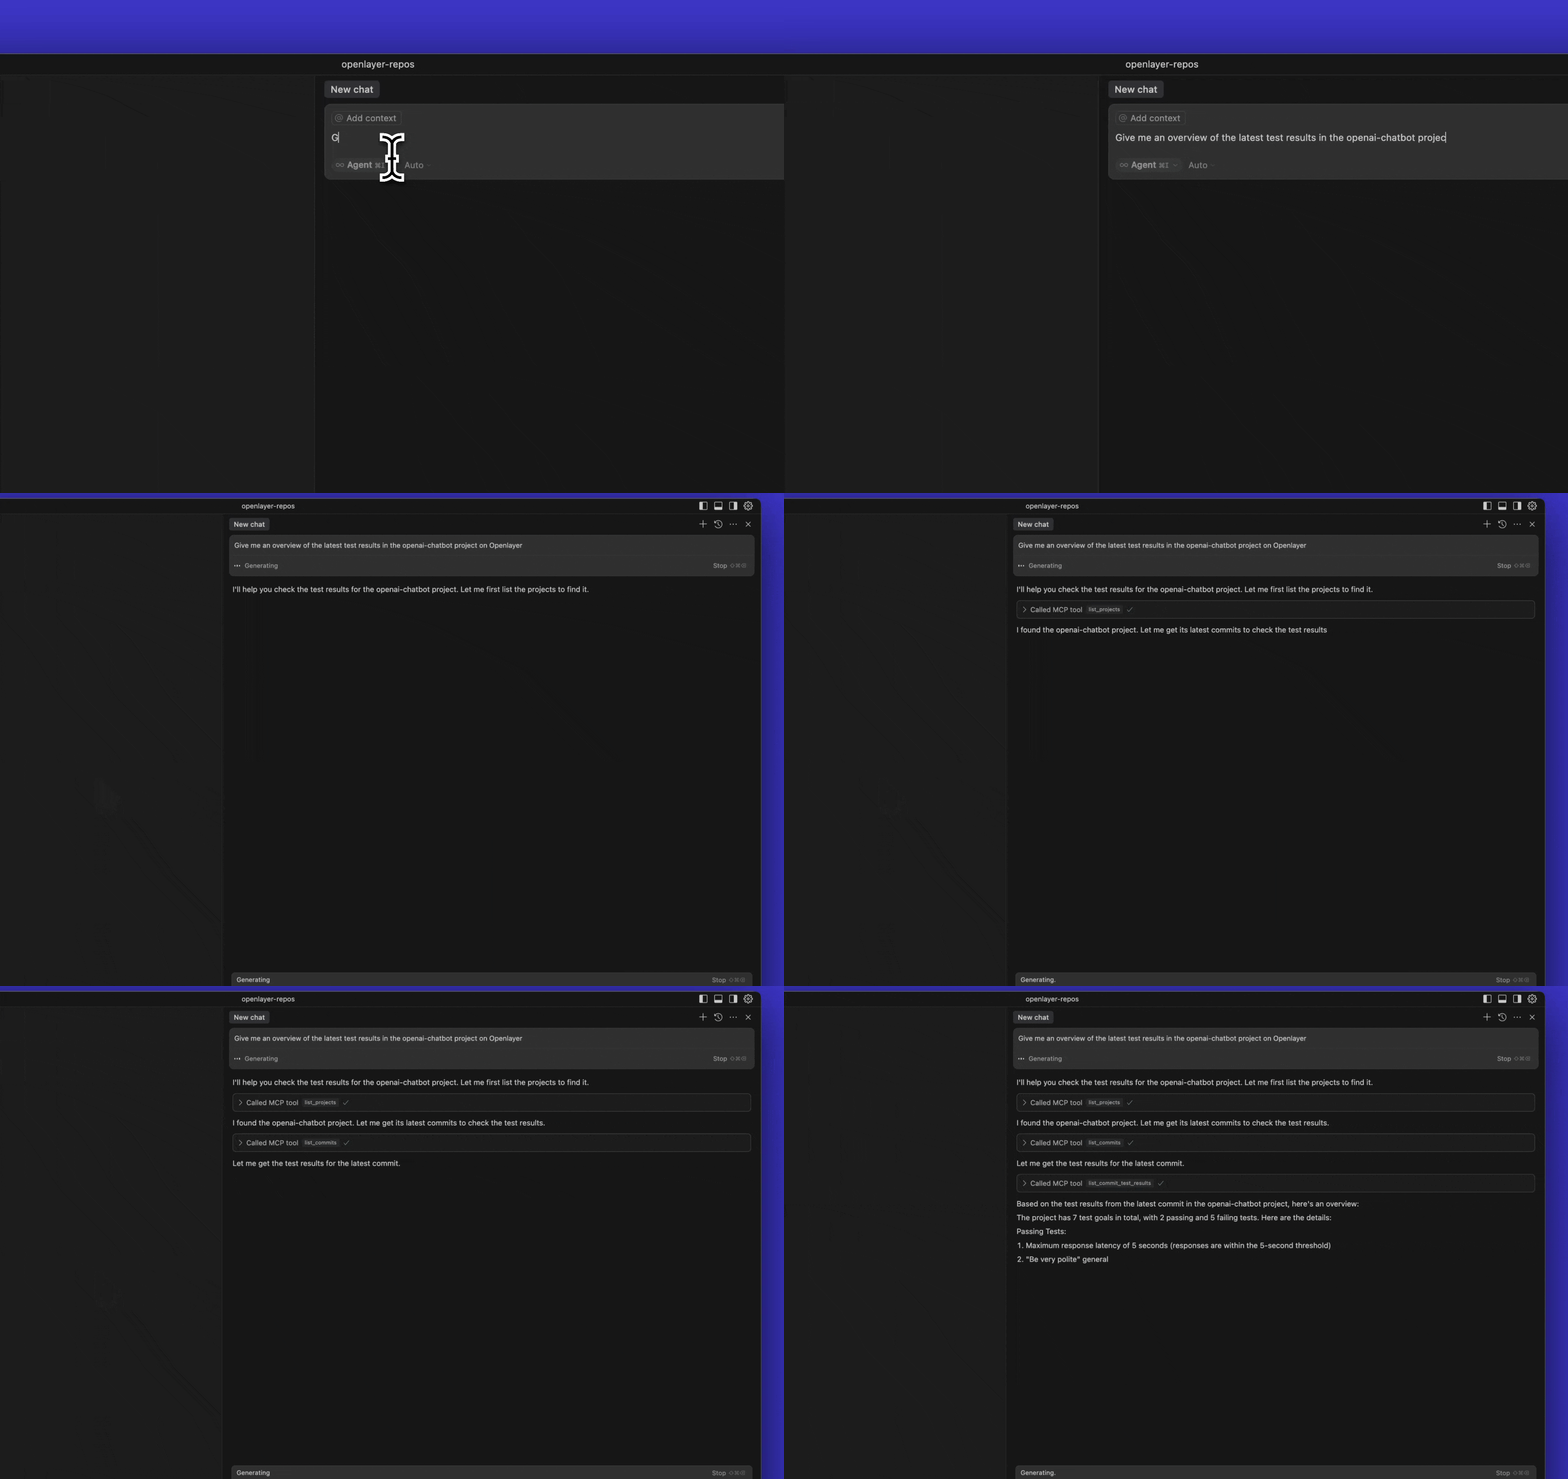
<img width="700" style={{ borderRadius: "0.5rem" }} src="https://openlayer-static-assets.s3.us-west-2.amazonaws.com/images/openlayer_mcp_cursor.gif" alt="Openlayer MCP in Cursor" />

There are two ways to run it:

|           | **Remote** (recommended)                  | **Local**                                   |
| --------- | ----------------------------------------- | ------------------------------------------- |
| Setup     | Add a URL to your client                  | Install `uv`, run `uvx openlayer-mcp`       |
| Transport | Streamable HTTP                           | `stdio`                                     |
| Auth      | OAuth sign-in with your Openlayer account | `OPENLAYER_API_KEY`                         |
| Updates   | Always the latest version                 | Whatever version you last pulled            |
| Tools     | All purpose-built tools                   | Adds `push_commit` and `call_openlayer_api` |

Use the remote connector unless you need those two local-only tools or you're
running a [self-hosted Openlayer instance](#self-hosted-openlayer).

## Remote connector (recommended)

The Openlayer MCP server is available as a **hosted, OAuth-protected remote
connector** — no local install, no API key. Add it by URL in any MCP client that
supports remote servers:

```
https://mcp.openlayer.com/mcp
```

On first use, your client registers itself and takes you through your normal
Openlayer login. You then pick:

* **which workspace** the connection is for, and
* **whether to grant full or read-only access**.

Both choices are fixed for the lifetime of that connection — nothing in the chat
can re-point it. To work in a second workspace, add a second connector and
authorize it for that workspace; the two coexist, and `list_workspaces` shows
which workspace a connection is bound to.

You can review and revoke connections per workspace in Openlayer under
**Settings → Security → Connected apps**.

<Tabs>
  <Tab title="Claude">
    In [claude.ai](https://claude.ai) or the Claude desktop app, go to
    **Settings → Connectors → Add custom connector** and enter
    `https://mcp.openlayer.com/mcp`.
  </Tab>

  <Tab title="Claude Code">
    ```bash theme={null}
    claude mcp add --transport http openlayer https://mcp.openlayer.com/mcp
    ```
  </Tab>

  <Tab title="Cursor">
    Add to `~/.cursor/mcp.json` (or the project's `.cursor/mcp.json`):

    ```json theme={null}
    {
      "mcpServers": {
        "openlayer": {
          "url": "https://mcp.openlayer.com/mcp"
        }
      }
    }
    ```
  </Tab>

  <Tab title="VS Code">
    Run **MCP: Add Server** from the command palette and choose **HTTP**, or
    add to `.vscode/mcp.json`:

    ```json theme={null}
    {
      "servers": {
        "openlayer": {
          "type": "http",
          "url": "https://mcp.openlayer.com/mcp"
        }
      }
    }
    ```
  </Tab>

  <Tab title="Codex">
    ```bash theme={null}
    codex mcp add openlayer --url https://mcp.openlayer.com/mcp
    ```
  </Tab>

  <Tab title="Windsurf / Zed / others">
    Clients without native remote-MCP + OAuth support can bridge through
    [`mcp-remote`](https://www.npmjs.com/package/mcp-remote). In the client's
    MCP config:

    ```json theme={null}
    {
      "mcpServers": {
        "openlayer": {
          "command": "npx",
          "args": ["-y", "mcp-remote", "https://mcp.openlayer.com/mcp"]
        }
      }
    }
    ```
  </Tab>
</Tabs>

### What differs from local

Two tools are intentionally not exposed on the remote connector:

* **`push_commit`** reads a directory on the machine running the tool — your own
  machine over `stdio`, but a shared server in remote mode. Instead, the remote
  connector exposes `create_presigned_upload_url` and `finalize_commit`: your
  client uploads the project bundle itself, then creates the commit from the
  returned `storage_uri`. This only works in clients that have their own file and
  shell access (like Claude Code).
* **`call_openlayer_api`**, the freeform API escape hatch, takes an arbitrary HTTP
  method. Use the local server for direct API access.

## Local set up

Prefer running the server locally — for direct API access, `push_commit`, or an
air-gapped setup? To get started with the local Openlayer MCP server:

<Steps>
  <Step title="Install uv">
    Make sure you have `uv` installed in your machine. You can follow the
    [instructions here](https://docs.astral.sh/uv/getting-started/installation/) if you don’t have it yet.
  </Step>

  <Step title="Add Openlayer to your MCP configuration">
    Add the following snippet to your `mcp.json` configuration file.

    The location of this file depends on your editor. For example, for Cursor,
    this is `~/.cursor/mcp.json`. For VSCode, this is `~/.vscode/mcp.json`.

    ```json theme={null}
    {
        "mcpServers": {
            "openlayer": {
                "command": "uvx",
                "args": ["openlayer-mcp"],
                "env": {
                    "OPENLAYER_API_KEY": "YOUR_OPENLAYER_API_KEY_HERE"
                }
            }
        }
    }
    ```

    If you use Claude Code, you can register it with a single command instead:

    ```bash theme={null}
    claude mcp add openlayer --env OPENLAYER_API_KEY=YOUR_OPENLAYER_API_KEY -- uvx openlayer-mcp
    ```
  </Step>

  <Step title="Restart your application">
    Some applications require you to restart the application after adding the
    configuration.
  </Step>
</Steps>

The local server reads two environment variables:

| Variable             | Description                                                                       |
| -------------------- | --------------------------------------------------------------------------------- |
| `OPENLAYER_API_KEY`  | **Required.** Create one in your Openlayer workspace settings.                    |
| `OPENLAYER_BASE_URL` | Optional. Point at a self-hosted Openlayer instance. Defaults to Openlayer Cloud. |

## Self-hosted Openlayer

If you run Openlayer on-premise, you can serve the **remote** connector from your
own deployment as well: it's an opt-in container on every deployment target, and
it's served from the URL you already use for Openlayer, at
`<OPENLAYER_URL>/mcp`. It authenticates against your own backend's OAuth2
Authorization Server, so there's no external identity provider, no second
hostname, and no client to register.

Configure the connector with these environment variables:

| Variable                       | Description                                                                                                                                                      |
| ------------------------------ | ---------------------------------------------------------------------------------------------------------------------------------------------------------------- |
| `OPENLAYER_MCP_OAUTH_ISSUER`   | **Required.** Base URL of the Authorization Server — your own Openlayer backend. Verified as the token's issuer, and advertised to clients as where to sign in.  |
| `OPENLAYER_MCP_PUBLIC_URL`     | **Required.** Public base URL of the connector itself. It serves MCP at `<OPENLAYER_MCP_PUBLIC_URL>/mcp`.                                                        |
| `OPENLAYER_MCP_OAUTH_JWKS_URI` | Optional. Overrides the `jwks_uri` your Authorization Server advertises.                                                                                         |
| `OPENLAYER_BASE_URL`           | Optional. Openlayer API base for the data plane. Defaults to `OPENLAYER_MCP_OAUTH_ISSUER`, so the credential and the data can't point at different environments. |
| `OPENLAYER_MCP_AUTH_MODE`      | Optional. How the connector authenticates callers. Defaults to `resource-server`.                                                                                |

In the default `resource-server` mode, the connector is a stateless OAuth 2.1
resource server: clients register, sign in, and refresh **directly** against your
backend, and the connector only verifies the resulting token against the
backend's JWKS. It stores no client registrations, OAuth transactions, or token
mappings, so it needs no sticky sessions and no shared store, and you can run as
many replicas as you like.

Two narrower modes exist. `oidc` fronts an Authorization Server that can't
register clients dynamically — in practice, only when you point the connector
straight at a third-party IdP instead of an Openlayer backend. `none` skips OAuth
entirely, reads a single static `OPENLAYER_API_KEY`, and relies on network
isolation for access control; because it has no per-user identity,
`list_workspaces` isn't available in that mode.

For the deployment steps, see the "Deploying the MCP connector" section of your
on-premise deployment repository's README, or
[reach out to us](mailto:support@openlayer.com). The
[local server](#local-set-up) also works against a self-hosted instance — set
`OPENLAYER_BASE_URL` to your Openlayer URL.

## Usage

Once configured, you’ll be able to see and use the Openlayer MCP server inside your
application.

You can ask it to:

* List, create, and update **projects**, and inspect their **commits**.
* List, create, and inspect **data sources** (inference pipelines), check whether
  one is still receiving data, and re-evaluate every monitoring test on it over a
  time range.
* Fetch production **traces** — filtered, or one at a time by inference ID — and
  patch a row to backfill ground truth, so tests that compare against a label can
  score it.
* Investigate **sessions and users**: session- and user-level aggregations, a
  single user's sessions, a session's AI summary, and the sessions behind a
  failing session-level test.
* List, create, update, and delete **tests** — integrity, consistency,
  performance, and LLM-as-a-judge — trigger evaluation, read results, and drill
  into the rows that failed, with the judge's per-row score and explanation.
* Review and edit your **governance** posture: frameworks and the documents behind
  them, rules and rule tags, rule results across the workspace, and the evidence
  attached to a result.
* Search the **Openlayer documentation**.

Tools are annotated as read-only or destructive, so clients can auto-approve reads
and ask you to confirm writes.
