Prerequisite: you need an Openlayer account
to follow this guide.

Create a project in the UI
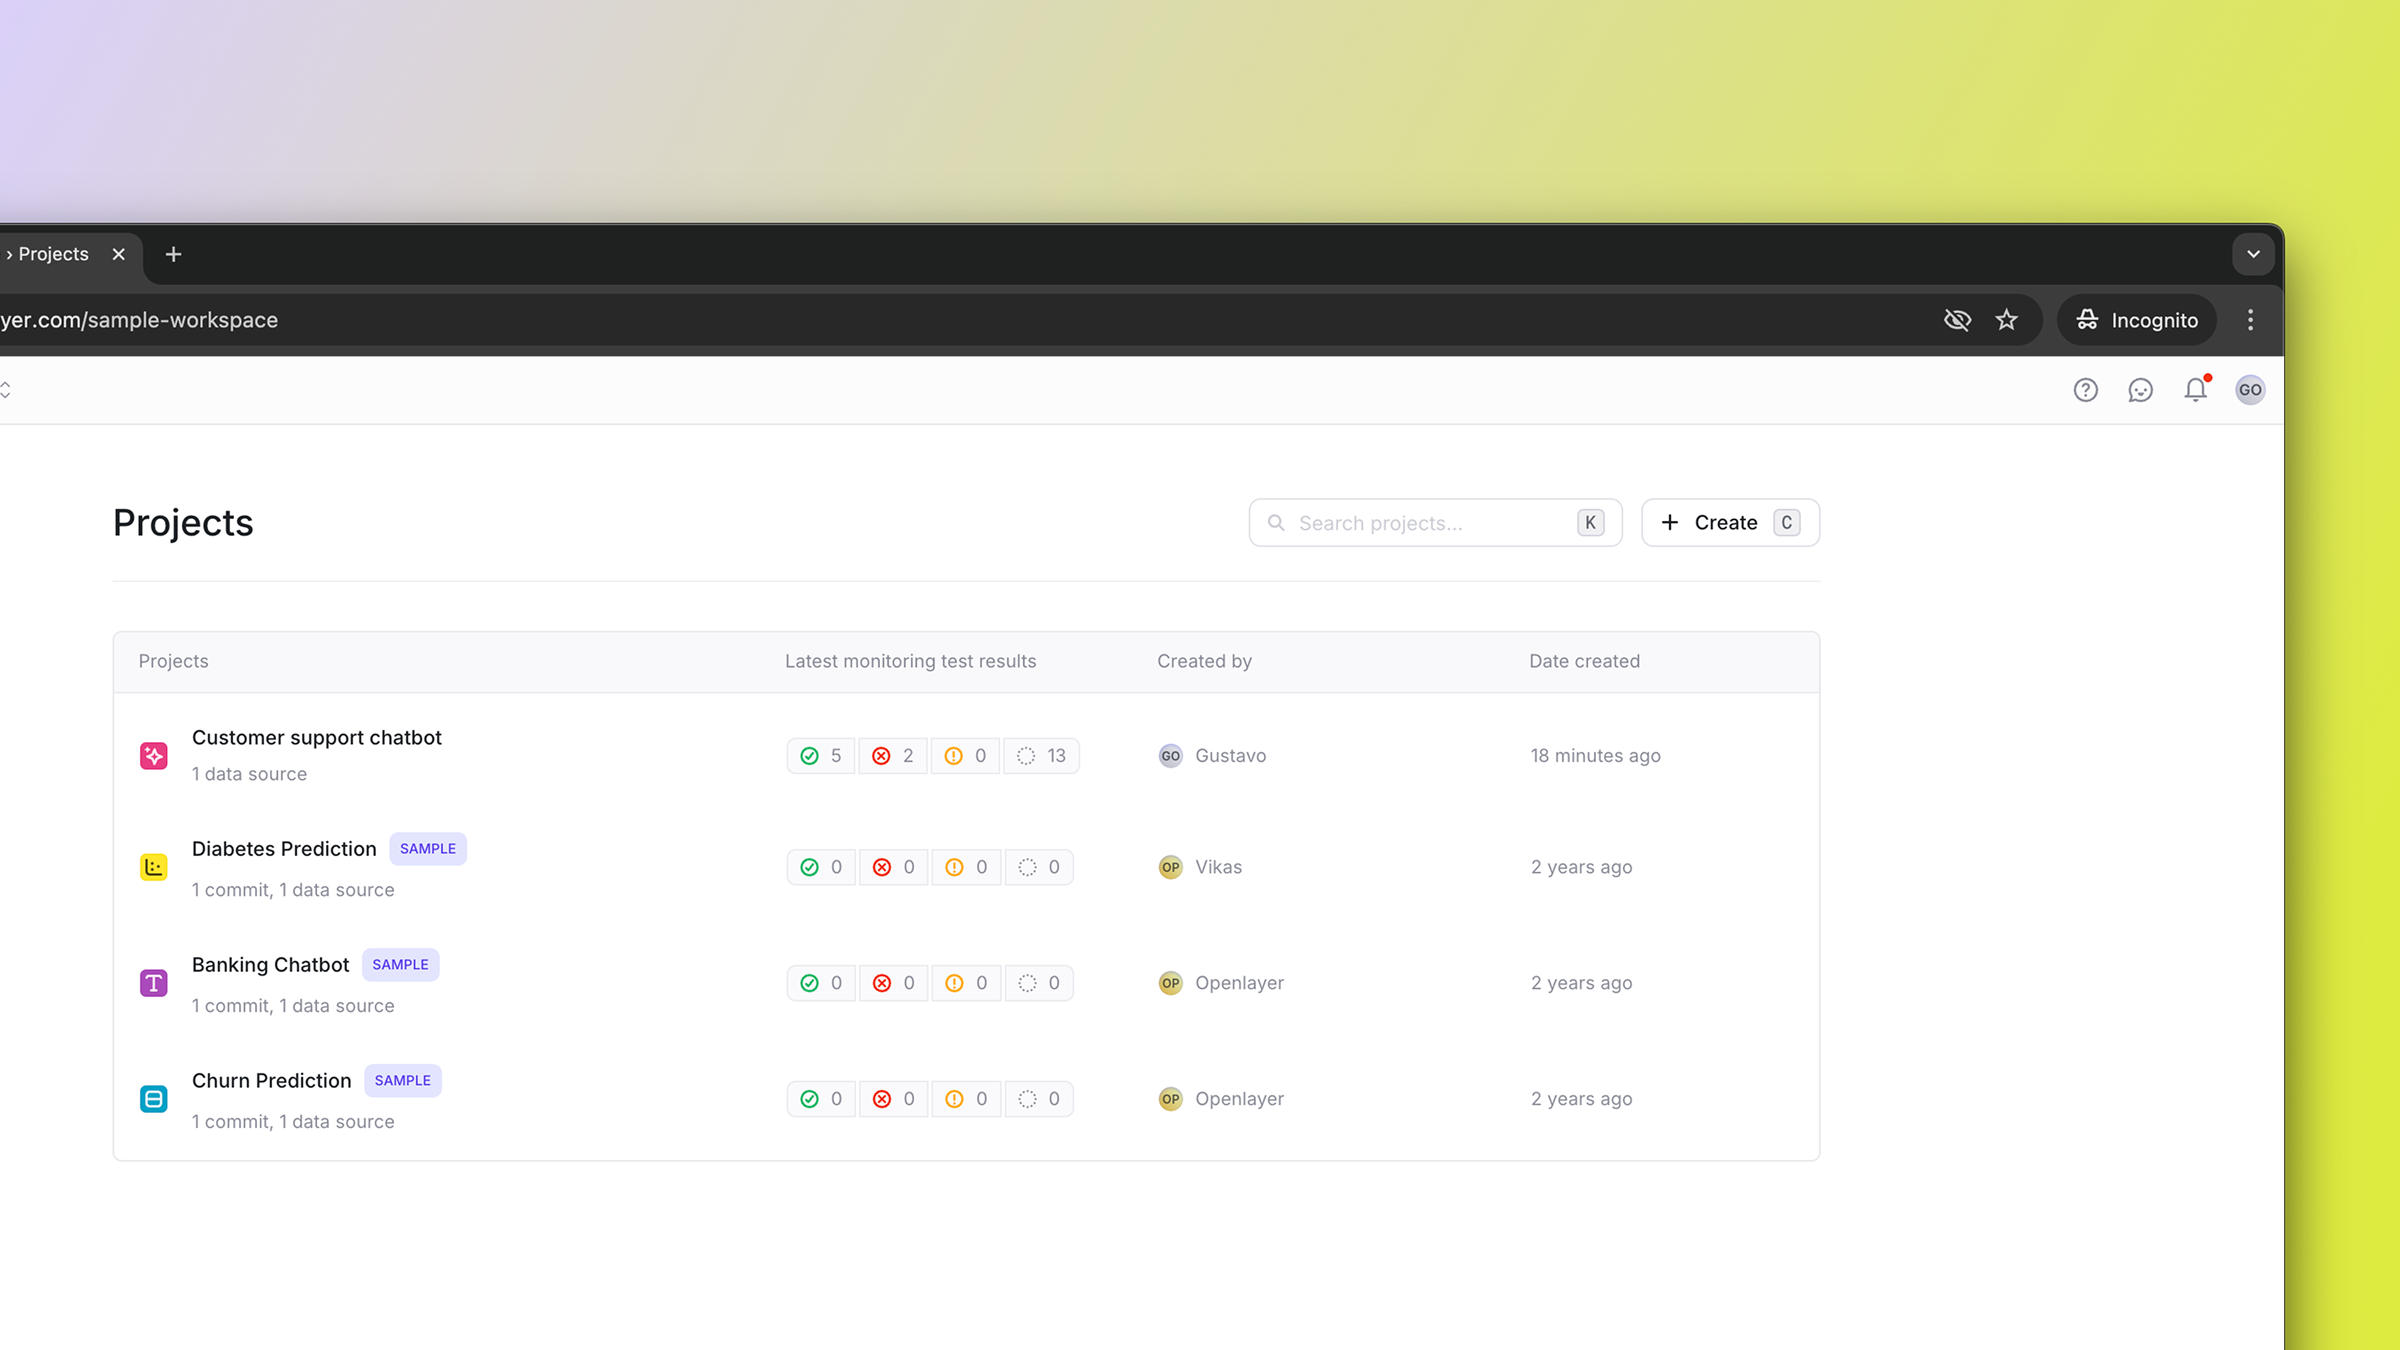
The UI is the quickest way to set up a new project.- Log into your Openlayer account
- Navigate to the workspace home page.
- Click the “Create” button on the top right.
- Follow the onboarding prompts to set the project name, type, and mode, and review suggested tests for your use case.
Create a project using the REST API or CLI
You can also create projects using our REST API or CLI tool. This is particularly useful for automation workflows or CI/CD integration. To authenticate, you need to create an API key.- REST API
- CLI
You can create a project by making a POST request to the
/projects endpoint. Refer
to the Create project API reference page for details.Next steps
Once you have created a project, you can immediately start evaluating your AI system. Common paths are:- Monitoring mode overview, to learn how to start observing and testing your live AI system.
- Development mode overview, to learn how to incorporate Openlayer tests into your CI/CD pipeline.
FAQ
Can I control which users have access to a project?
Can I control which users have access to a project?
Yes, Openlayer supports role-based access control (RBAC) at the project level.You can create access groups with different roles, such as “Admin,” “Member,” “Viewer,” and others. Refer to
the Access groups page for details.
What are the project modes?
What are the project modes?
A project on Openlayer has different modes, such as “Development” and “Monitoring.”
Each mode has a particular purpose in the AI lifecycle:
- Development mode is used pre-production and helps you iterate on your AI system, test each version, and track improvements across them.
- Monitoring mode is used in production and helps you observe and test an AI system that is serving live requests.

