How to connect
Prerequisites:
- An Openlayer project with monitoring mode enabled
- Appropriate credentials for your data source (see the provider-specific guides)
1
Choose a provider
In your project, go to Data sources and click Connect a data source.
Select your provider:Each provider has its own authentication flow. For example, BigQuery supports both
service account impersonation and service account key uploads.
Follow the provider guide linked above for details.
BigQuery
Snowflake
Databricks
2
Enter credentials
You will be prompted for connection details, such as: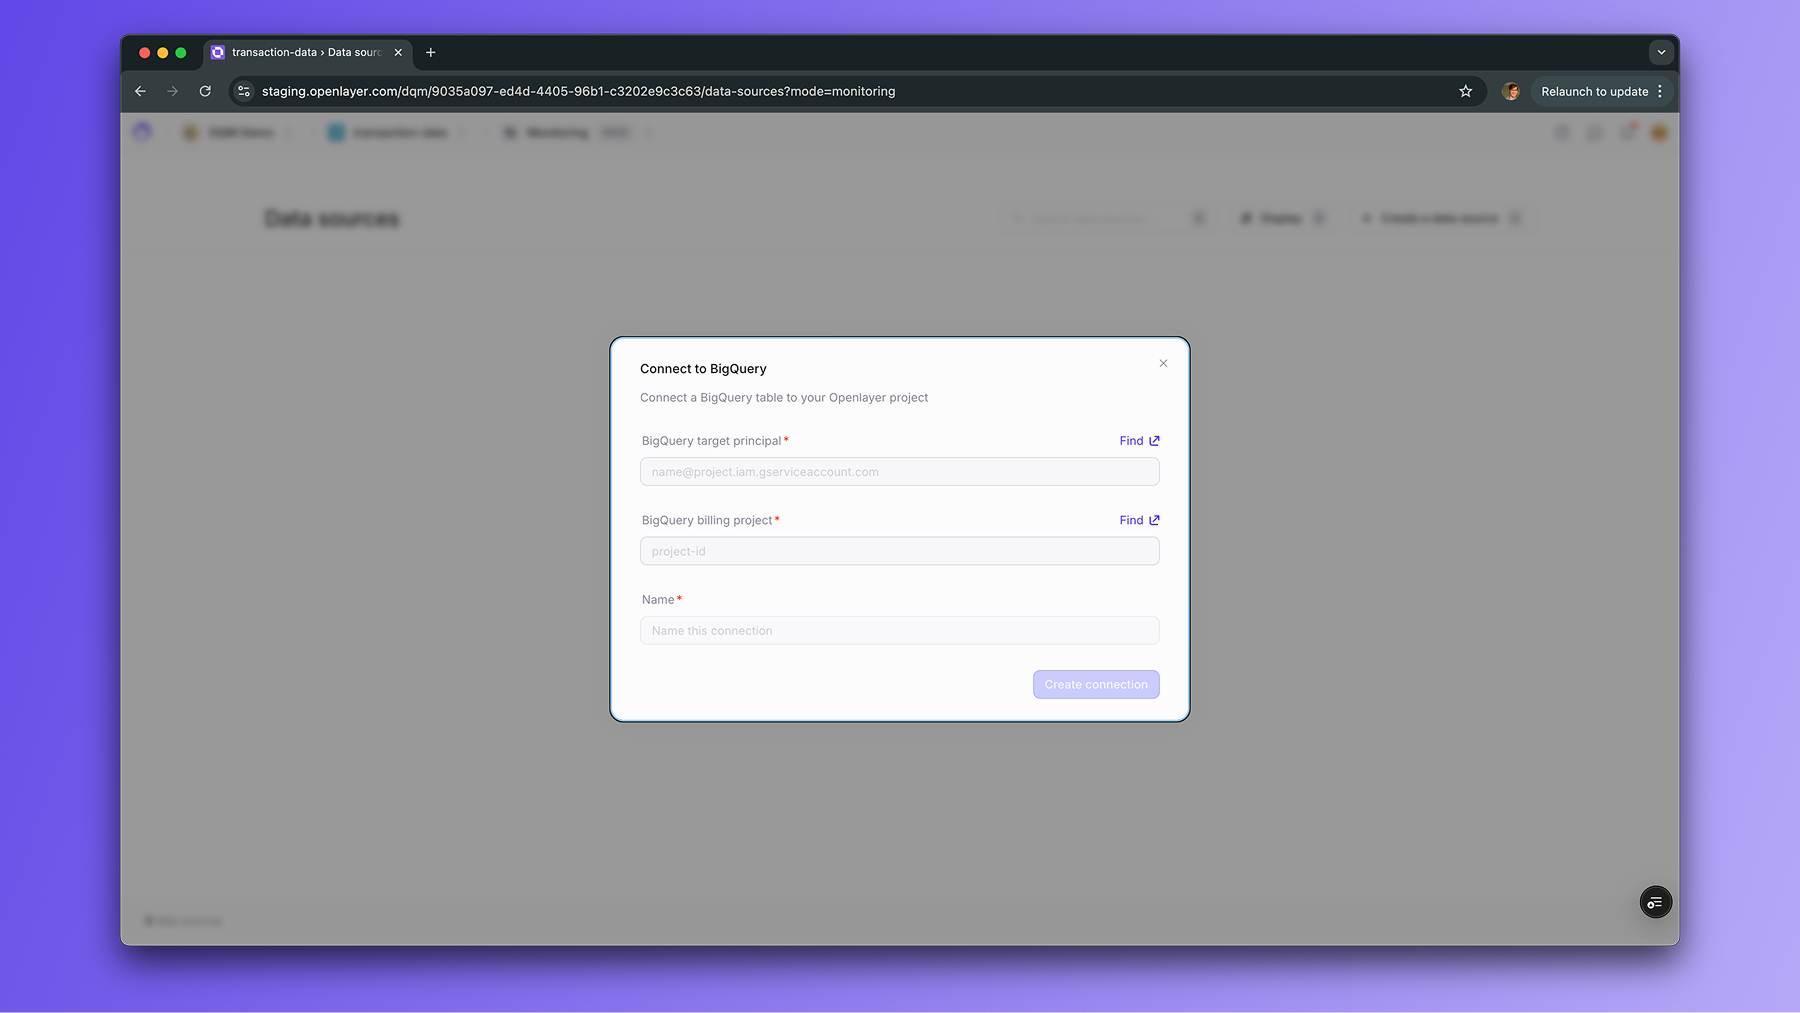
3
Select tables
Once credentials are verified, you can browse the available databases/schemas and choose which tables to monitor.For each table, you’ll also configure:
- A timestamp column (to order data in monitoring windows)
- An optional data source name (to label the connection in Openlayer)
4
Start monitoring
After saving, Openlayer will profile the table and begin running data quality tests.
You can then add checks such as schema validation, drift detection, or anomaly detection.See the Tests overview for details on configuring tests.
Next steps
- Connect your first source: BigQuery guide
- Learn how to add data quality tests